
Catalogues, magazines and journals usually have many pages. The table of contents (TOC) on the first three pages helps readers navigate the publication. Adobe InDesign provides a convenient function to automatically generate a table of contents. This saves you a great deal of work. In this InDesign tutorial, you will learn how to use this function and what requirements have to be met.
Table of contents in Adobe InDesign
The more pages a catalogue or chapters a book has, the longer the table of contents will be. Manually entering the titles and page numbers in the table of contents is a very time-consuming task. To save you valuable time, InDesign provides the “Table of Contents” function to automatically generate a TOC based on paragraph formats.
Content
- Basic requirements
- Table of contents…
Basic requirements
Two basic requirements are necessary for InDesign to include the desired content in the table of contents. Firstly, each page to be included in the table of contents must be in the same document as the TOC itself. So if you have a 60-page article, for example, your document will comprise all 60 pages. Secondly, the text must be properly formatted. This means that all contents, such as headings or body text, must have a separate paragraph format and must be set up accordingly.
Creating the table of contents
In this example, we want to create a table of contents for a three-page article on golf. We want the table of contents to include subheadings, too. Go to the Layout menu and select Table of Contents to open the Table of Contents panel. Then click the More Options button to show further formatting options.
Title of the InDesign table of contents
In the Title box, you can type a title for your TOC which will appear at the top of the table of contents. This box is set to “Contents” by default. You can also leave this box empty as in our example since we already included the term “Table of Contents” in the layout on the corresponding page.
Formats in the table of contents
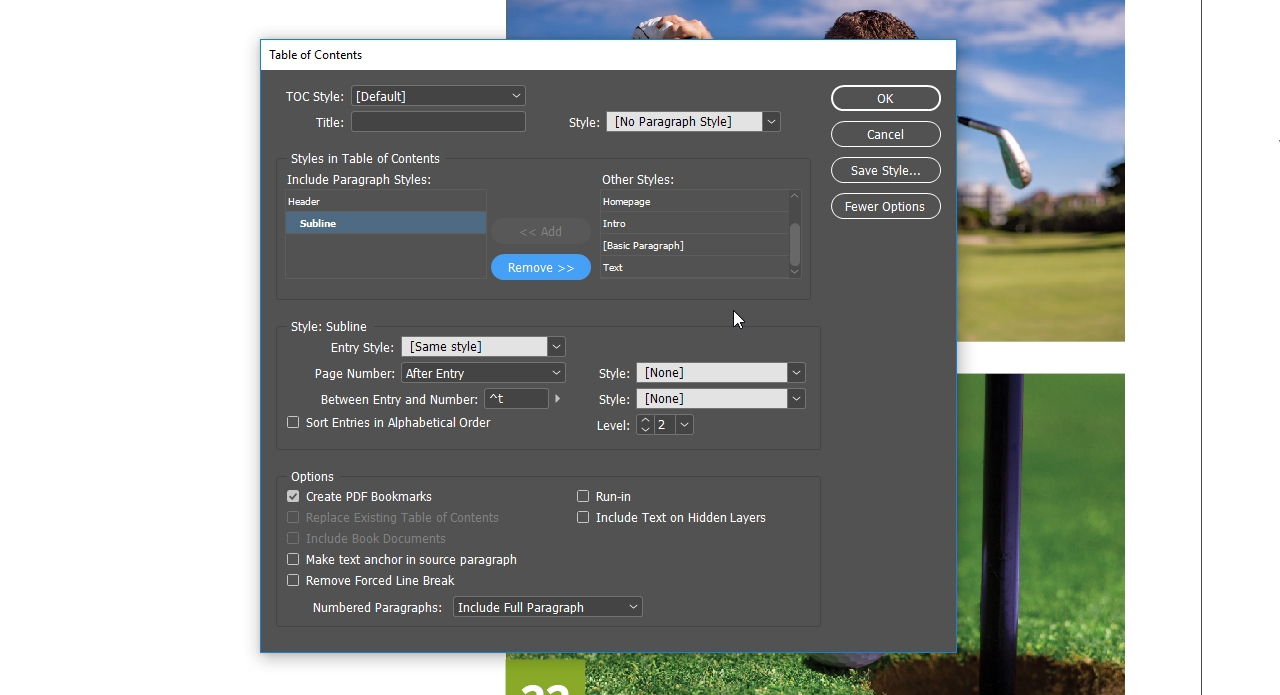
In the Style menu of the TOC, you can now select one of the paragraph styles defined previously by clicking the Add button to add them to the Include Paragraph Styles list. In this example, we first add the paragraph style for the heading and then for the subheading. As a result, all texts assigned the “heading” or “subheading” paragraph style will be included in the table of contents regardless of which pages they are on.
Assigning a new style
The heading you want to add to the TOC is inserted in exactly the style specified by the “heading” paragraph style. The same applies to the subheading.
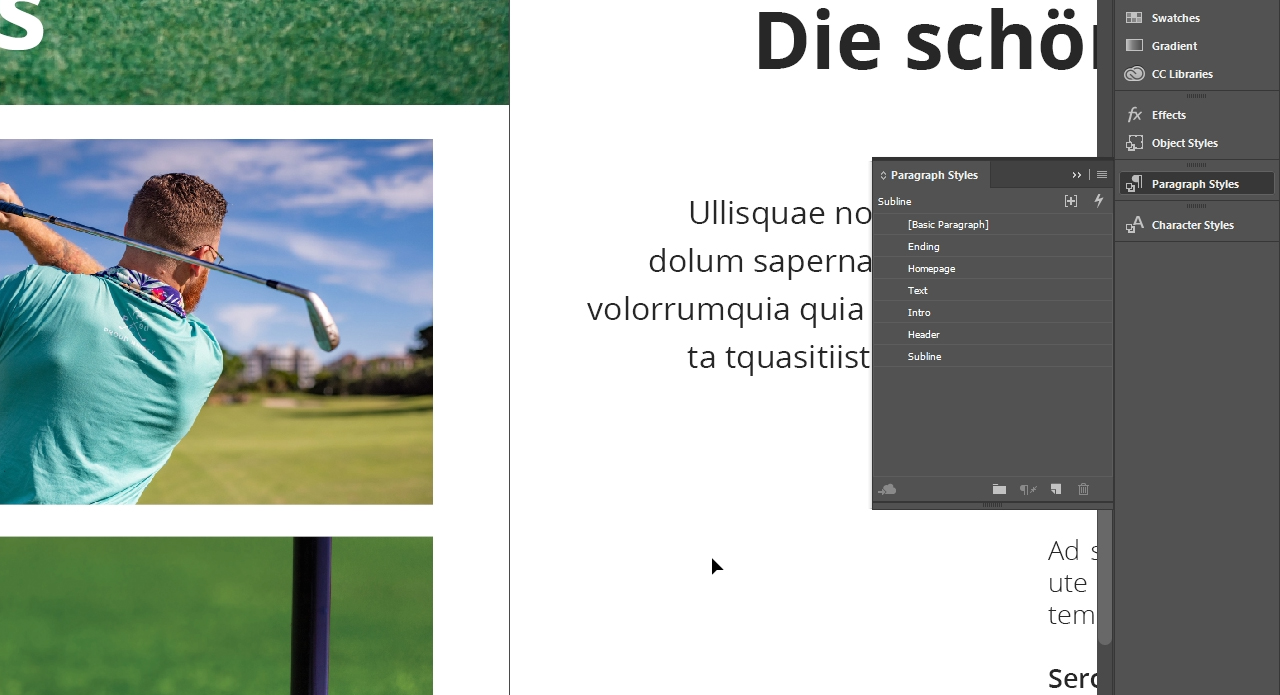
Paragraph styles
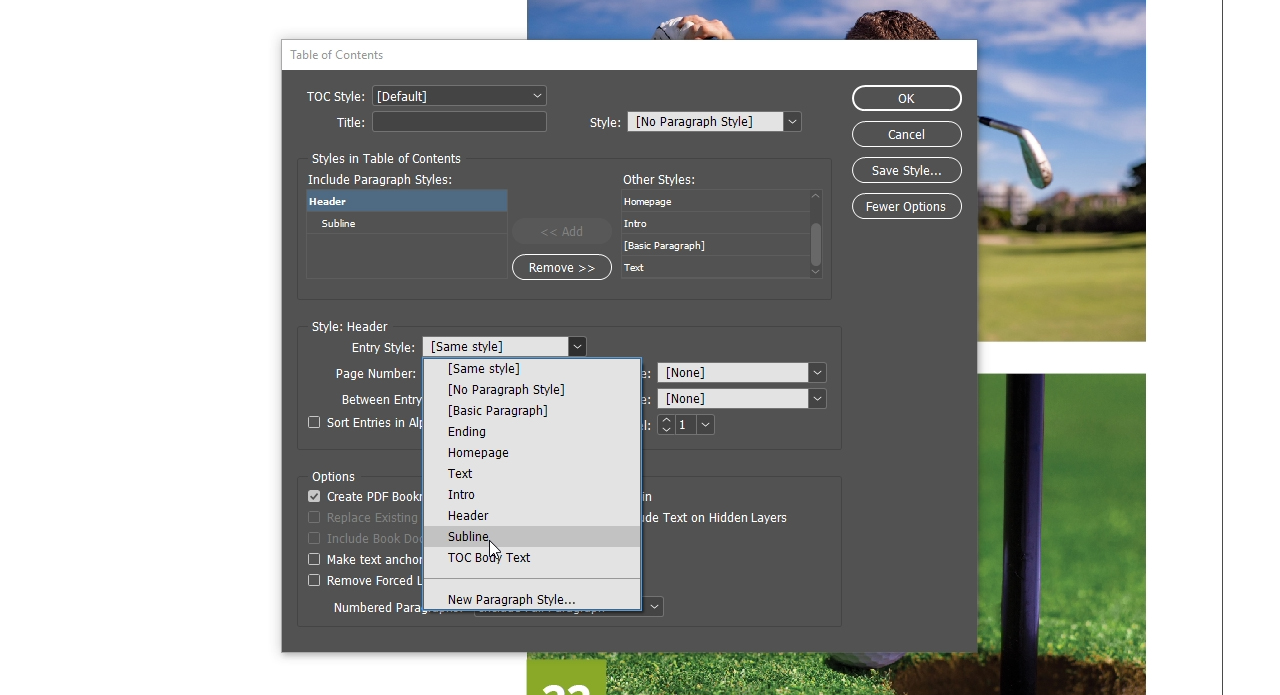
To improve the readability of the TOC, first click the heading paragraph style under Include Paragraph Styles and choose the paragraph style for formatting the heading in the Entry Style drop-down list box. In the example, we assign the “Subheading” paragraph style to the heading included in the table of contents and the “Text” paragraph style to the subheading included in the table. Entry Style also lets you choose whether to display the page number before or after the text.
Positioning the TOC
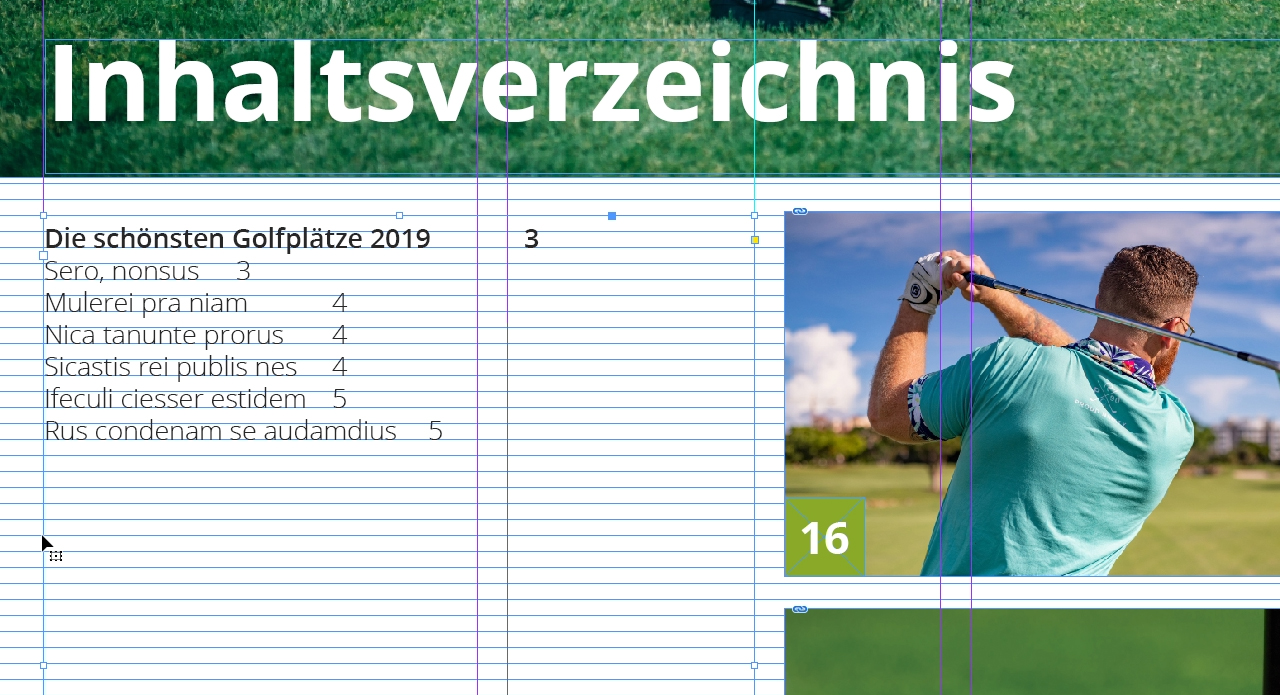
To position the TOC, confirm the dialog with OK. You will then see that the table of contents is attached the mouse pointer. Click anywhere within your document to insert the TOC. If the paragraph styles have been set up properly, you should now see the subheadings listed together with the corresponding page number.
Formatting the TOC
In the next step, we want to format the table of contents so that the text is aligned to the left and the page number to the right. We want to connect the two elements using a dotted line as is common practice for TOCs. First drag out the text frame which includes the table of contents to its final size and copy the value for the width of the text frame.
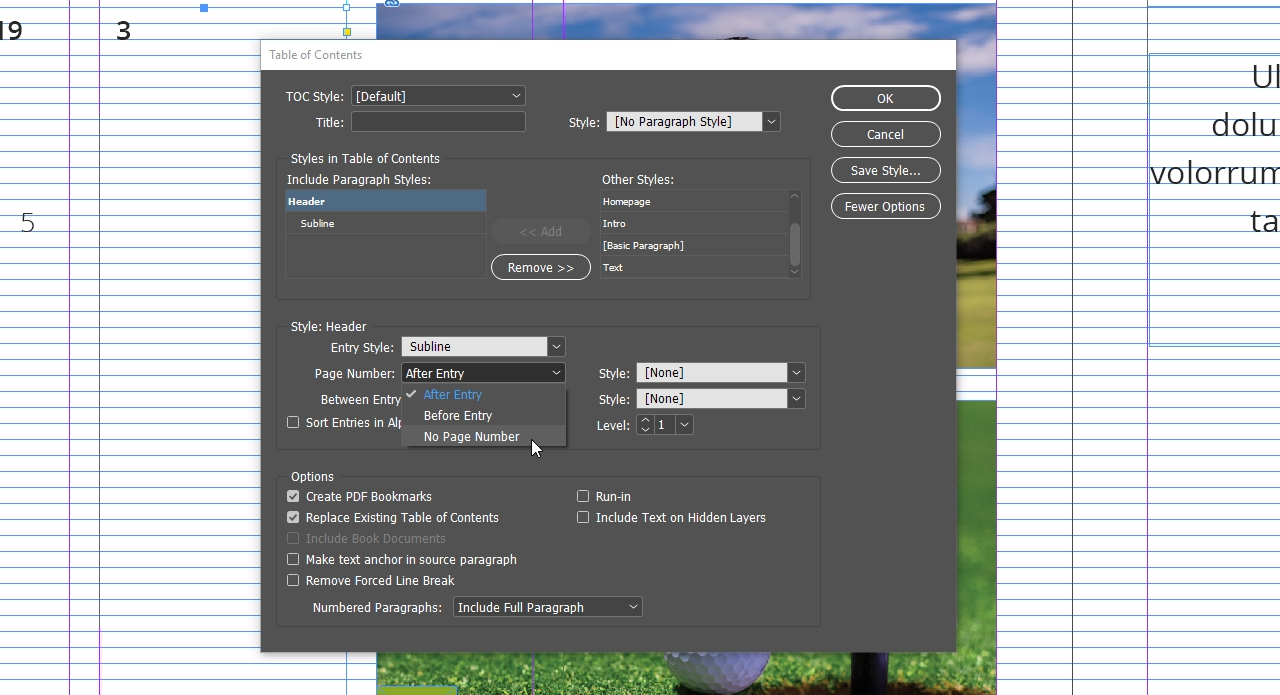
Heading: hiding the page number
Click Layout to open the Table of Contents panel again and click the heading. The page number of the heading is not required. In the Page Number drop-down menu, therefore choose No Page Number.
Right-aligning the page number with leader dots
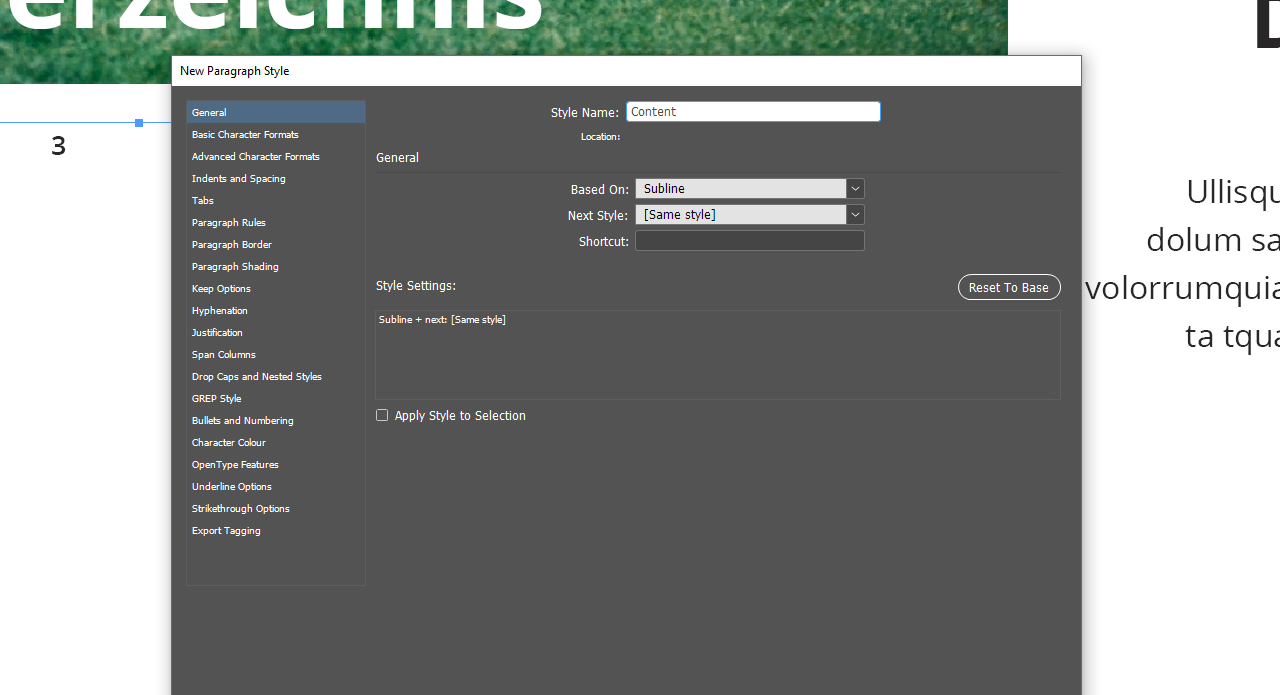
In the Table of Contents panel, click your subheading, go to the Entry Style drop-down menu and choose New Paragraph Style. First assign an unambiguous name to your paragraph style such as “Content”.
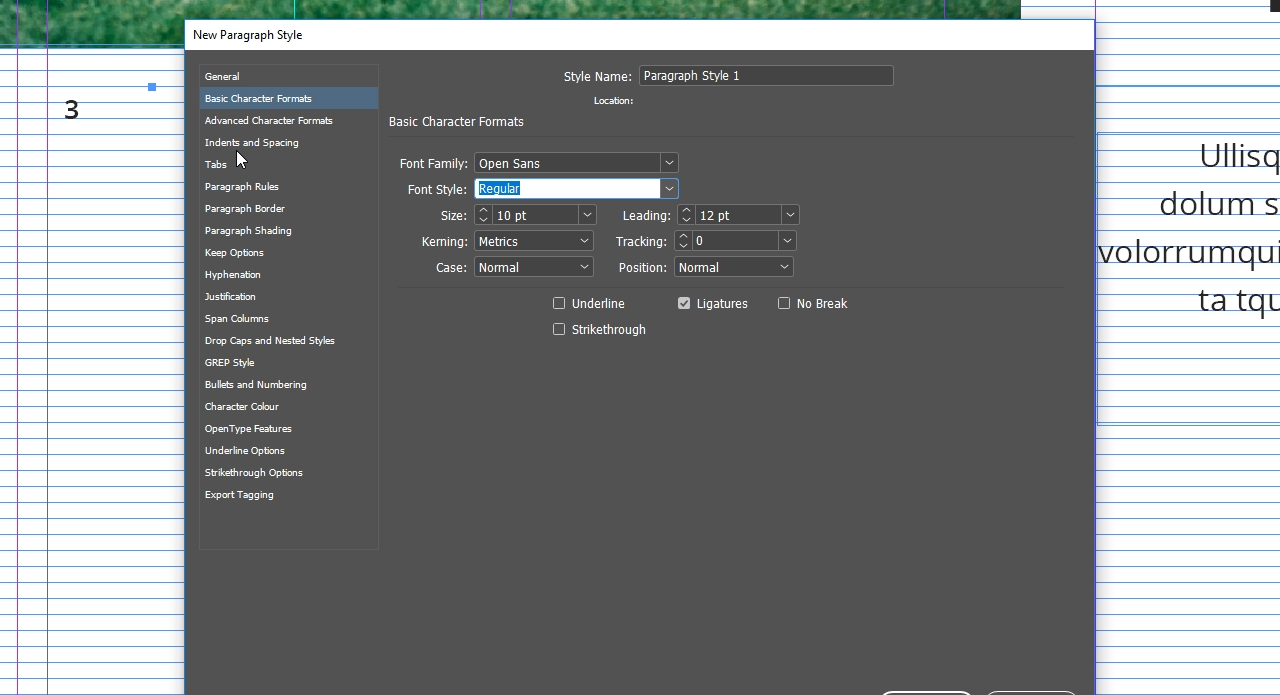
Then click Basic Character Formats and restore the original formatting of the subheading unless it has been applied automatically.
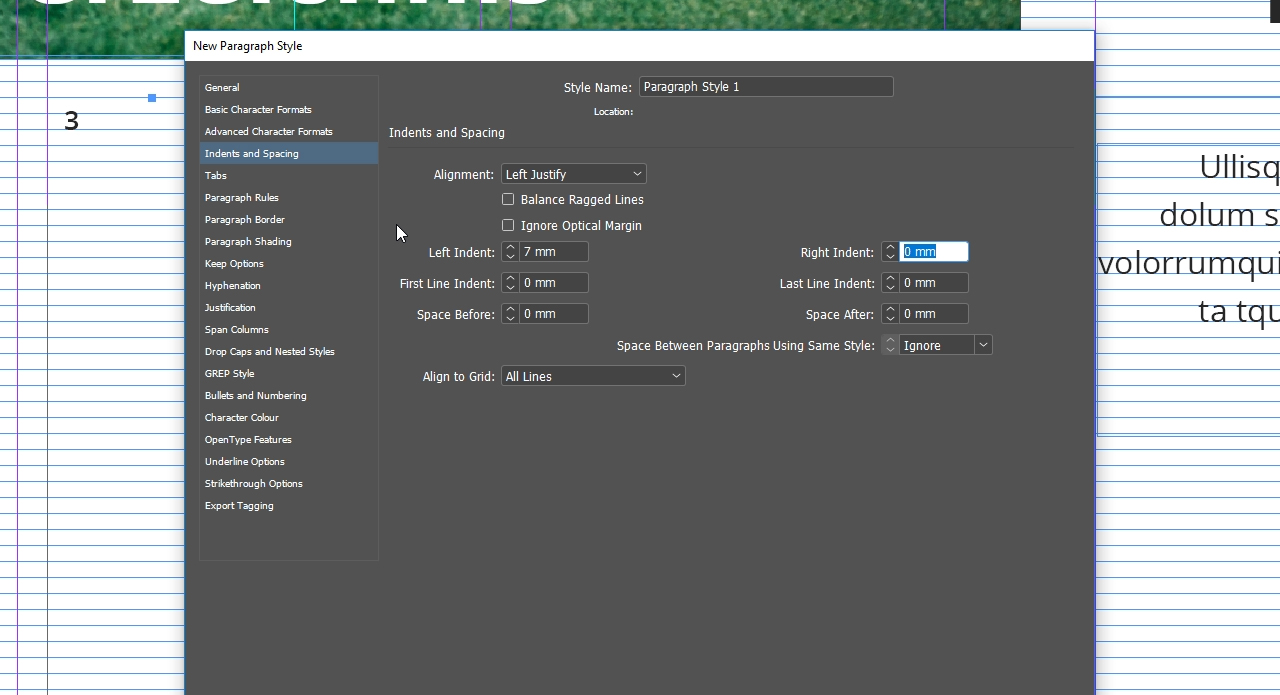
Defining the indent
We want our sample TOC to have a left indent. Click the Indents and Spacing tab and define a Left Indent of 7 mm.
Using tabs
Click Tabs and choose the right-justified tab icon. Click anywhere within the displayed ruler to define your alignment point. Then select the value in the X box and replace it with the copied width value of your text frame (see image below). In our example, the value is 98 mm.
Inserting a leader
Under “Leader” you can now define what to display between the text and the page number. We want to insert a leading line that is not too narrow, so we add a space and a dot. This means that a space and a dot will be inserted alternately at the end of the text. This sequence will be repeated until the right-aligned page number is reached. Next confirm your settings with OK.

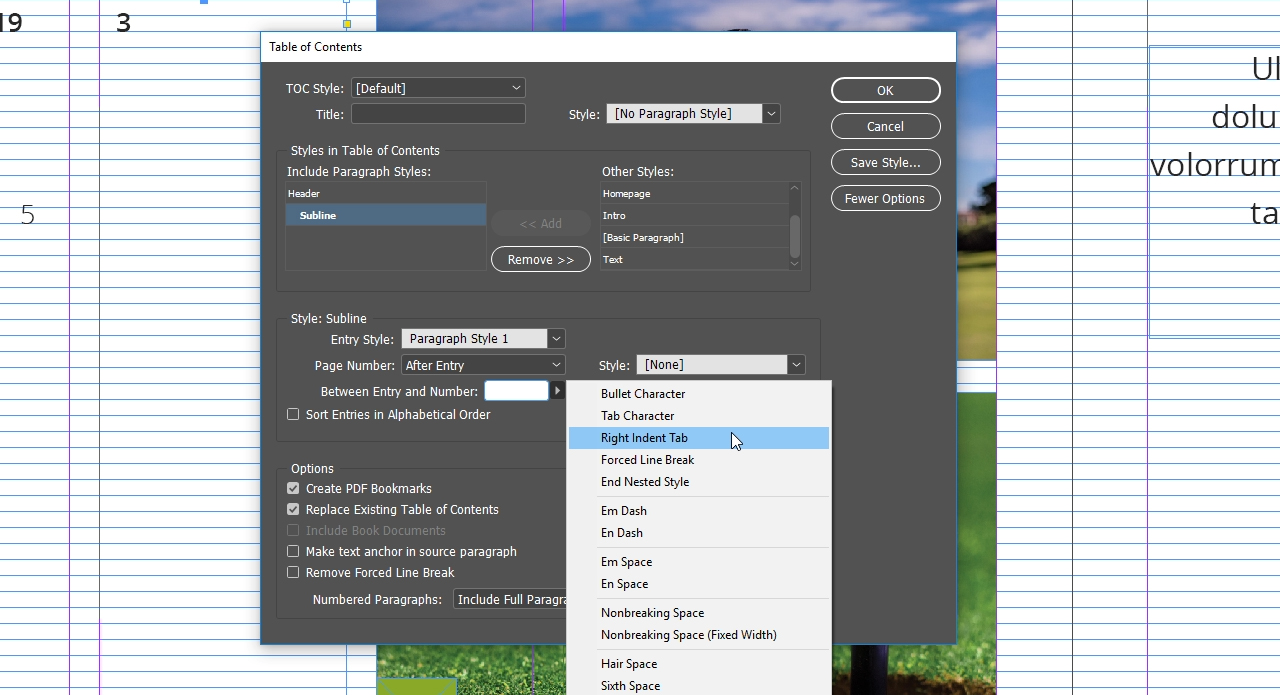
Right-aligning and inserting the tab
The Between Entry And Number box in the Table Of Contents panel contains a circumflex and a t, ^t, by default which tells InDesign to insert a tab. But since we want the page number to be right-aligned, we delete the contents of this box, open the adjacent drop-down menu and choose Right Indent Tab. A circumflex and y should now appear in the field. Once you have confirmed the panel settings with OK, the formatting will be updated and the table of contents looks much tidier and better organised.
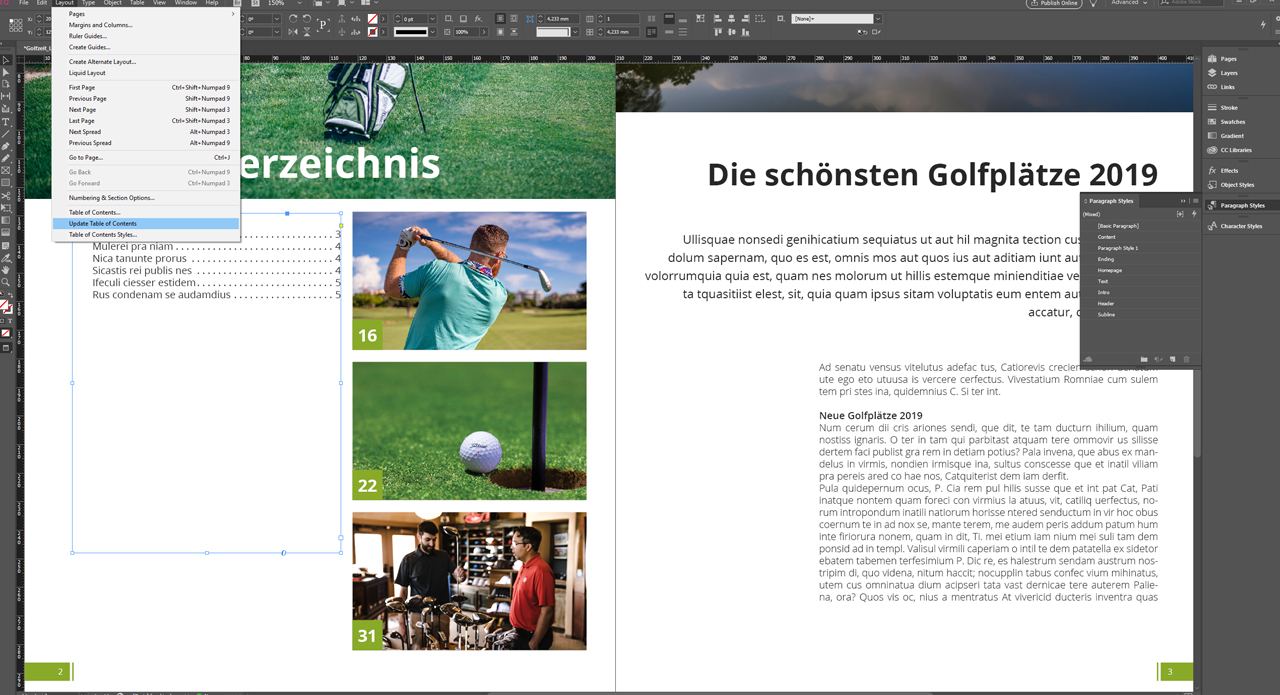
Updating the TOC
If you change your subheadings later on, this change will not be applied automatically to the TOC. To update it, select the text frame of the table of contents and click Layout and then Update Table Of Contents. Your InDesign table of contents is up to date again.
More Adobe InDesign tutorials:
Credits:
Designer: media designer Christoph Ullrich.