
Creating reflections, inverting image areas or changing the mood of the entire photo – all this is possible by flipping layers in Photoshop. It is a highly useful function that opens up a variety of applications. In this tutorial, we will demonstrate a few practical examples of “flipping layers”.
You can completely flip your photo in Photoshop with just two clicks. The function is simple but can be used for many different purposes. By flipping a layer in Photoshop you can change the mood of your photo or create reflections to make it appear more realistic or add a touch of elegance. The following three practical examples demonstrate how to create a new look for your pictures with a few clicks.
Example 1: Flipping layers to change the mood
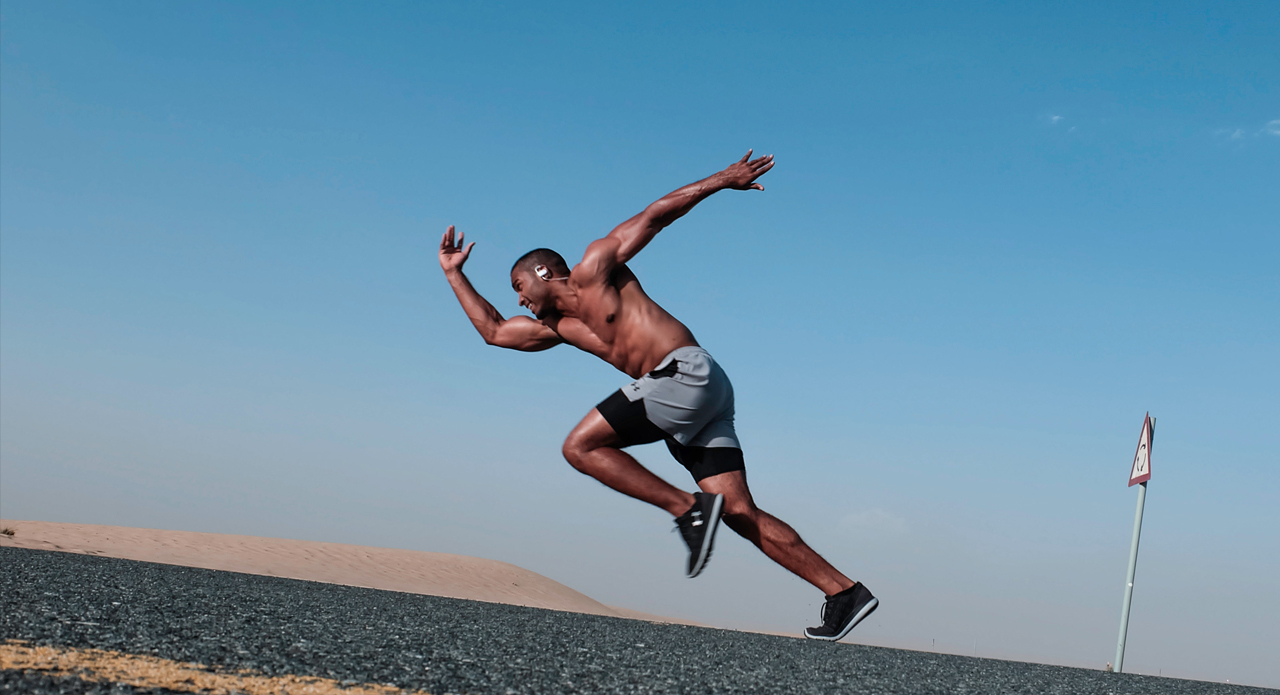
This photo of an athlete does not please the eye and is uncomfortable to look at. This is because the human eye perceives a positive slope as much more agreeable than a negative one. In this picture, however, the slope is negative, running from the upper left to the lower right. To change the mood, you can flip the photo. To do so, choose Edit > Transform > Flip horizontal.

This command flips the entire image layer and we immediately perceive it as much more pleasing as the street now has a positive incline.
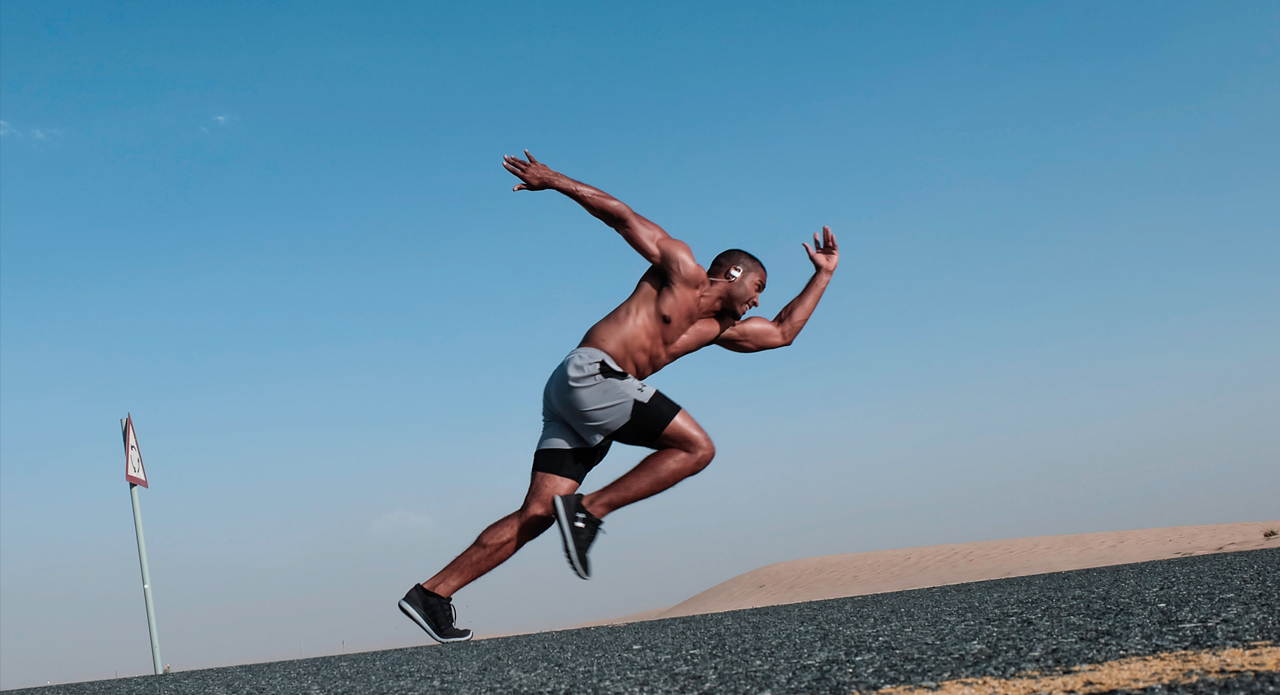
Tip: If your image does not create the visual impact you are aiming for, try to flip the whole image layer.
Example 2: Creating reflections
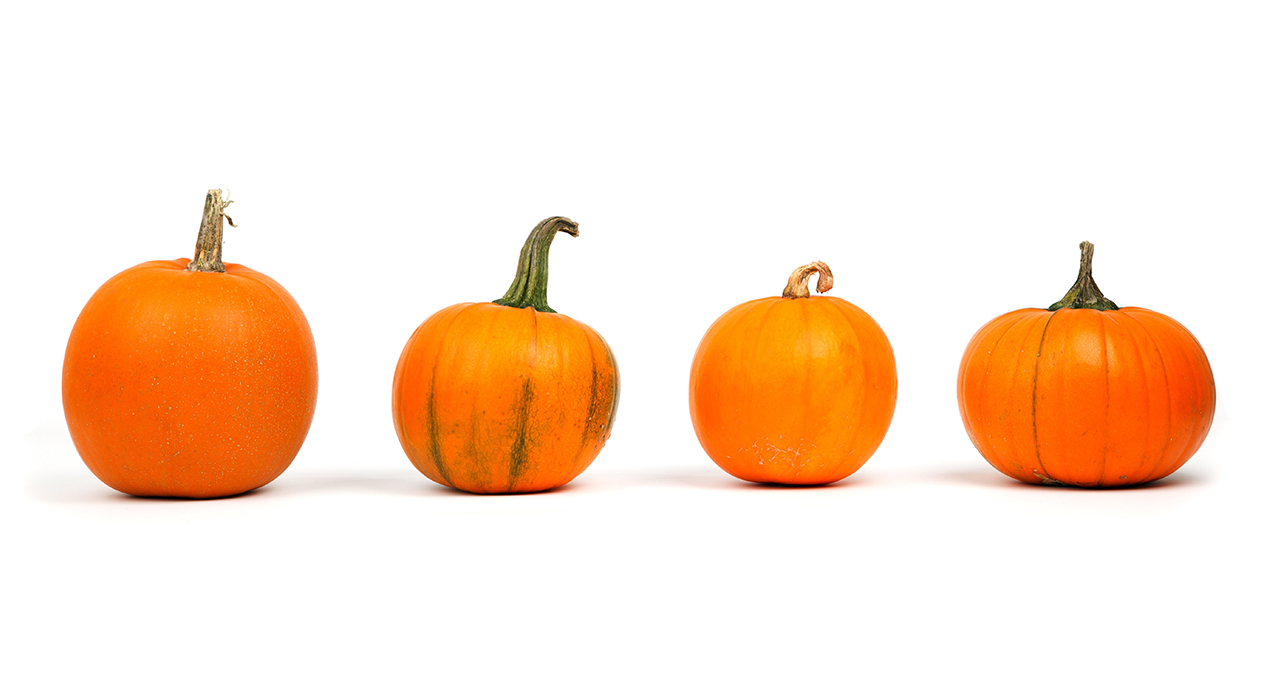
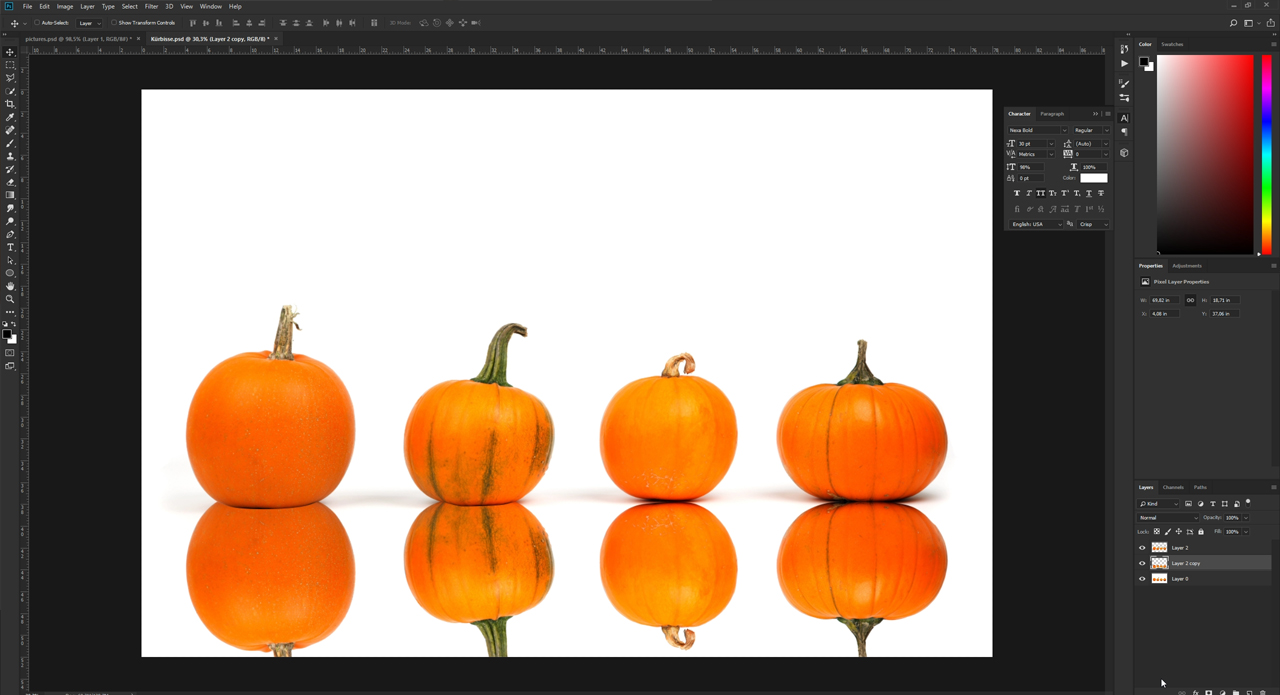
Creating reflections is another popular feature of Photoshop. This can also be accomplished by flipping layers. In this example, we want to create the impression that the pumpkins are sitting on a mirror. They were previously extracted and the layers were copied twice in the Layers panel.
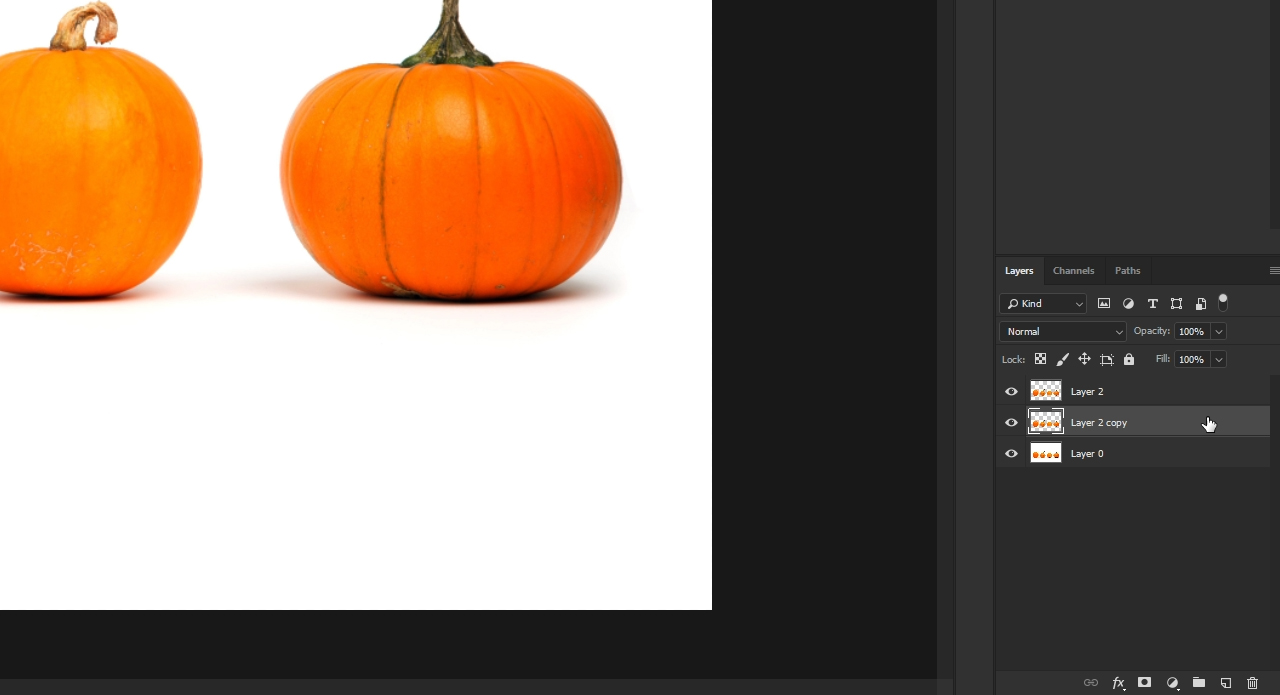
First move the second layer a little down using the Selection tool and then click Edit > Transform to flip the layer vertically. Next adjust the lower edges of the pumpkins so that they are adjacent to each other.
Natural reflections through layer masks
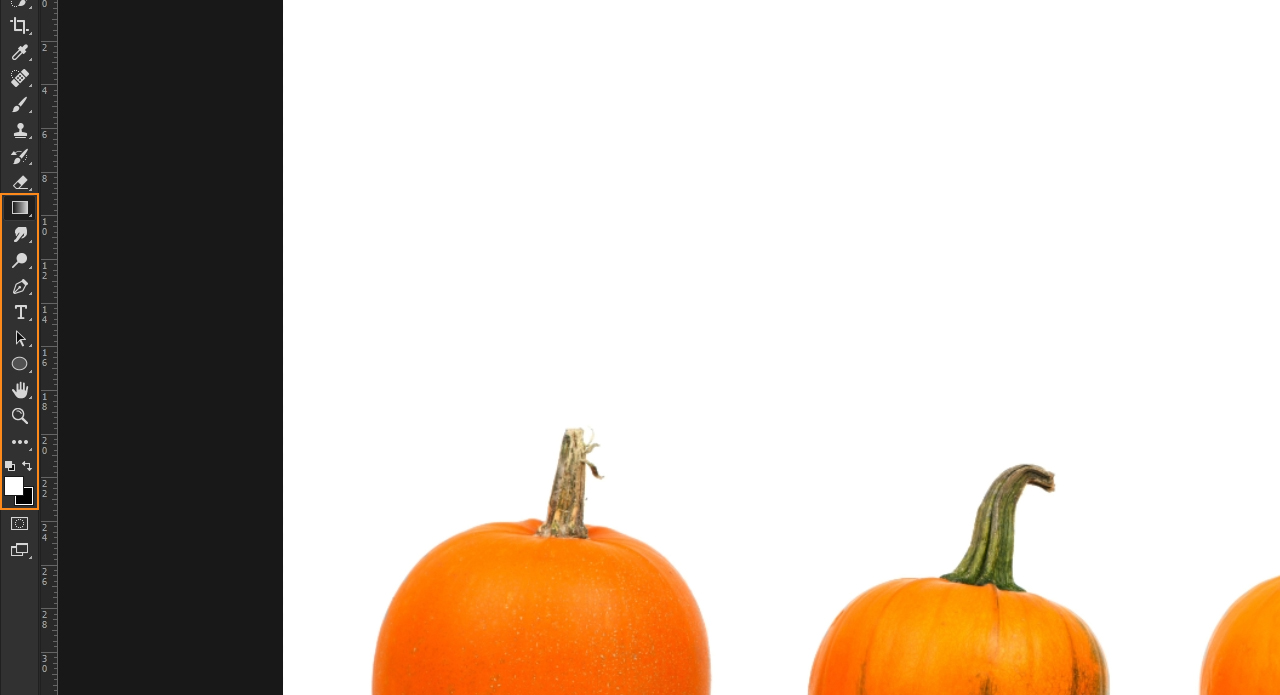
In the Layers panel of the flipped layer, next create a new layer mask. Subsequently, choose the Gradient tool from the toolbox and make sure that black and white are set as foreground and background colour. You can either adjust this manually or click the small icon directly above the swatches.
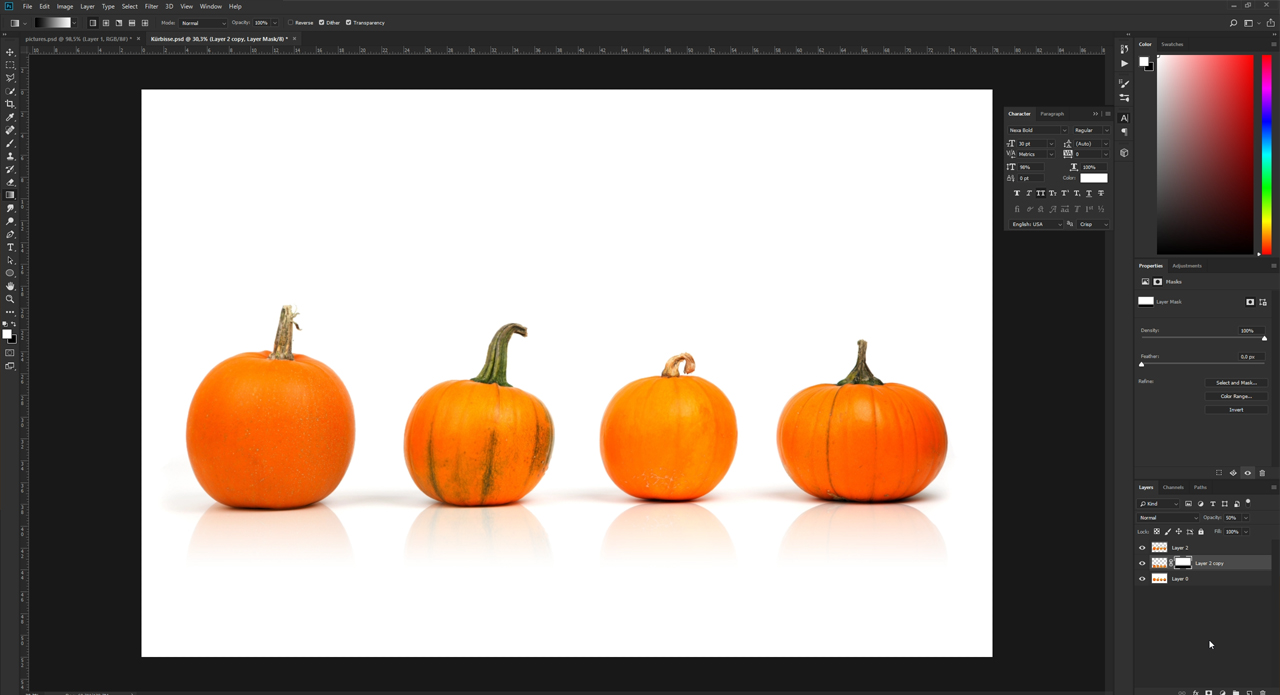
Now hold down the left mouse button and draw a gradient line. Start from the middle of the mirrored pumpkins and draw the line upward until you reach approximately the middle of the non-mirrored pumpkins. After releasing the left mouse button, you will see that only half of the flipped pumpkins is still visible. Reduce the opacity to 50 percent in the Layers panel and apply a 10 % Gaussian Blur filter via Filter > Blur . Follow these steps to flip layers in Photoshop to create visual mirror effects in no time.
Reflections: Why create a layer mask?
The reflection is caused by the layer mask. A layer mask causes all image areas located in the white area of the mask to be visible. All image areas in the black area remain hidden. The mirror effect is caused by the gradient of the greyscales between white and black. It is therefore important to define black and white as the foreground and background colour before creating a layer mask.
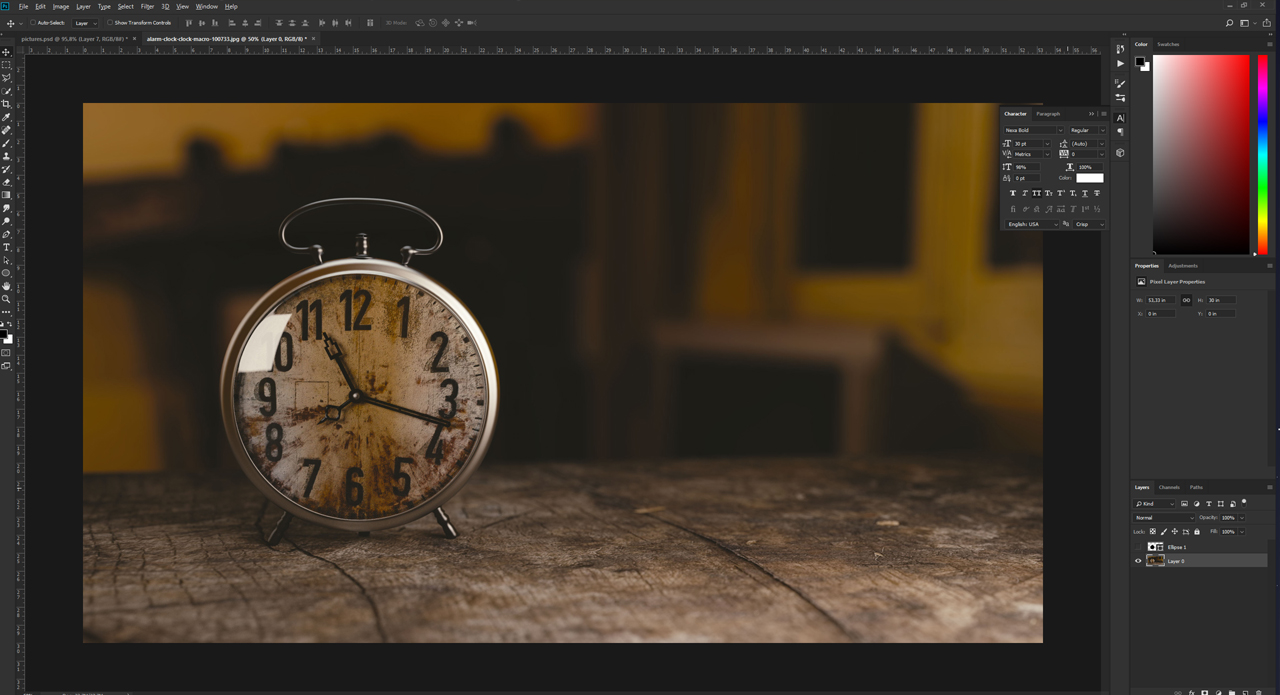
Example 3: Flipping single items of a layer

In the example, we want to move the clock to the left to make way for a marketing slogan on the right. Here, too, you have to flip the entire Photoshop layer via Edit > Transform > Flip horizontal. This will move the clock to the left, however, the clock face is mirrored now.

To remedy this, Photoshop allows flipping individual items of an image. To restore the clock face to its original orientation, choose the Ellipse Tool in the toolbox. Then move the mouse to the centre of the clock face and drag out an ellipse by holding down the Alt key and the Shift key. Next set the opacity of the ellipse layer to 30 percent so that you can see the clock face underneath it.

Use the Ctrl + T shortcut to transform the ellipse in the next step and adjust its sides exactly to the outlines of the clock face. Once the ellipse has the desired shape, press Enter to confirm the transformation.
Flipping the selected item in the layer
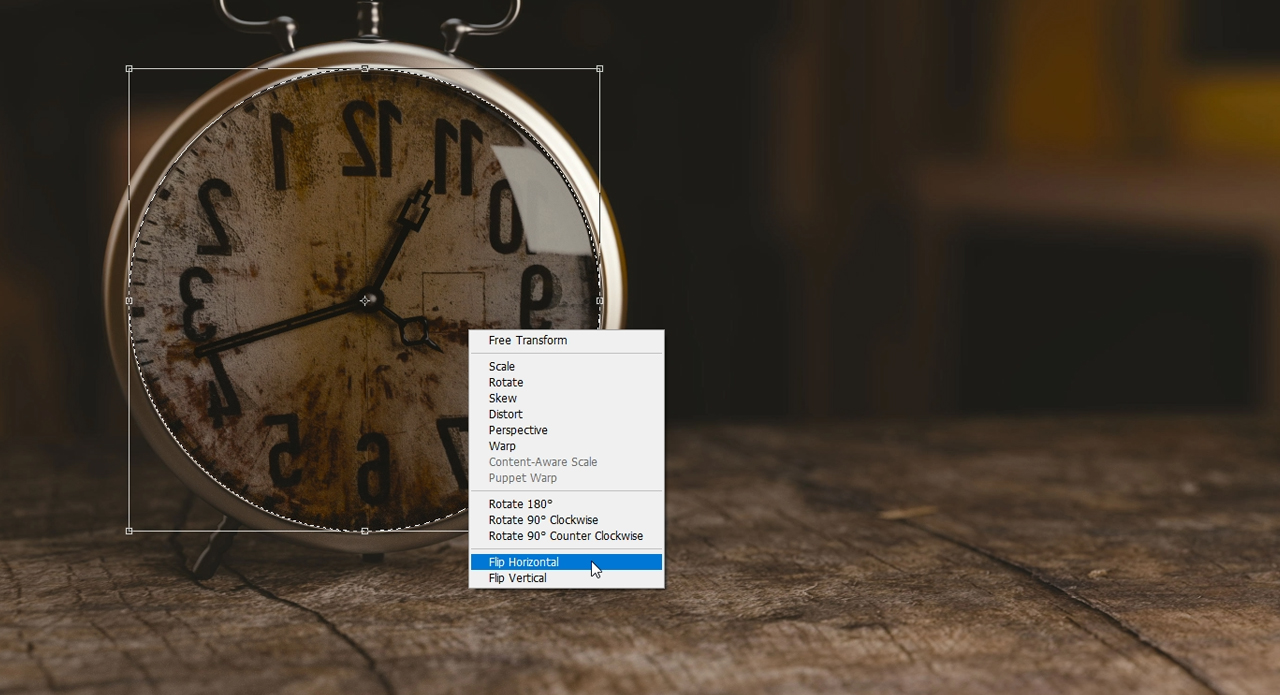
We now flip the selected image area. First choose the Selection Tool to select the layer with the clock. Then create another selection by holding down the Ctrl key and clicking on the ellipse icon in the ellipse layer. You can now hide the layer with the ellipse again. You have presently made a round selection which includes exactly the face of the clock on the layer containing the clock. To flip the selected item, use the Ctrl + T shortcut again and click the right mouse button inside the selection. Then choose Flip Horizontal in the context menu to restore the clock face to its original orientation.
Tip: To flip a specific image area, you can also use the Paths panel. This can be useful especially if you want to flip just one person in a photo. After creating a path, go to Paths in the Layers panel and select the item you want to flip by holding down the Ctrl key.
Credits:
Tutorials (text and video) and design by media designer, Christoph Ullrich.