
Interactive forms can be particularly useful when entering and validating data. We show you how to use Adobe and various online tools to create a PDF form tailored to your needs.
Interactive PDF documents such as forms are very convenient because they greatly facilitate the transfer of data. Whether you want to submit an online membership application, an expense report or order form, digital PDF forms with fillable form fields are indispensable for such purposes. The user can print or send such a PDF form with a mouse click. The form data can also be read out automatically. We show you the easiest way to create a PDF form so you, too, can benefit from interactive forms.
Contents
- Creating a PDF form with word processing programs
- Creating a PDF form in Adobe InDesign
- Adobe Acrobat: How to turn a PDF into an interactive PDF form
- Alternatives to Acrobat
Creating a PDF form with word processing programs
Preparing the layout in Microsoft Word
If you want to create an interactive PDF form, there are several ways to get there. Let’s start with the all-round tool Microsoft Word. The program features form functions and enables users to build interactive forms using the Developer tools. To our disappointment, however, the interactive features have been lost after exporting the document to PDF. So Word can only be used to prepare the layout. The form fields must be added again in Acrobat or other, usually paid, software programs.
Export from OpenOffice and LibreOffice
The free word processing programs OpenOffice and LibreOffice also allow configuring form fields. Unlike Word, the interactive functions are preserved in these programs when exporting the document to PDF.
Creating a PDF form in Adobe InDesign
Adobe InDesign is more helpful here: Not only can you prepare the layout and the appearance of the form, you can also add interactive form fields that are preserved when exporting the document to PDF. You can thus add and edit form fields to create a custom PDF form. To do so, choose Buttons and Forms in the Windows menu under Interactive.
Once you are satisfied with the result, you can export the document. Note: You cannot do this in the usual way via File Adobe PDF Presets. You can save the interactive document using the Export command. Just choose the Adobe PDF (Interactive) format. The functionality of the form fields will be retained when opening the PDF in Acrobat or Acrobat Reader.
Adobe Acrobat: How to turn a PDF into an interactive PDF form
You may of course also create an interactive PDF form based on an existing PDF. If you have your layout in PDF format and want to edit or edit interactive features or form fields, you will need a software program that allows form field editing in the PDF. The full version of Adobe Acrobat is definitely a good choice here; it offers a wide range of interactive functions to play around with.
Acrobat enables you to insert all kinds of form fields from normal text fields and buttons to date fields, digital signatures and bar code fields. The fields can be generated in such a way that the user entries are validated in multiple ways. For example, the input can be limited to the type of numbers or digits or the amount. Entered values can be offset against each other and fields can be defined as mandatory.
Tip: Since Acrobat provides all possibilities for form fields, you can theoretically also create and edit a new, empty PDF file directly in the program. For the sake of the layout and design, however, it is advisable to prepare the data in a suitable program such as InDesign, Word or Illustrator. This has another advantage: If you set up the form fields so that they are easily recognisable and position the associated descriptions close enough to the fields, Acrobat can do a lot of the work for you.
Automatic form field recognition
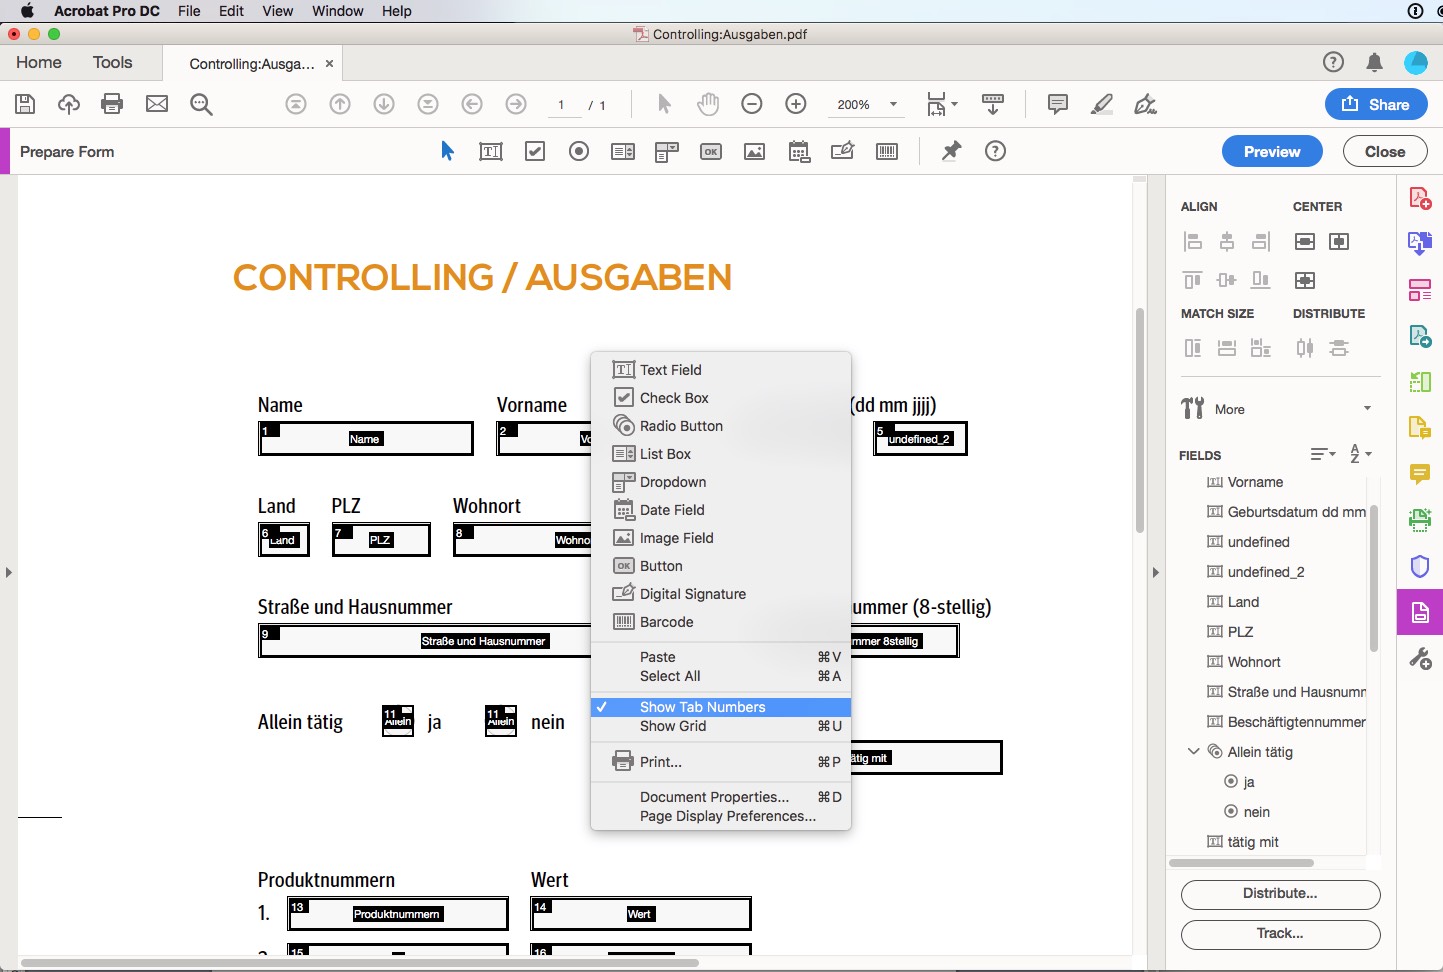
Acrobat has an automatic form field recognition function. For this purpose, export the document from the program in which it was created to PDF. Now start the full version of Acrobat and click the Tools tab. In the Forms and Signatures category, choose the Prepare Form tool. To work more quickly, choose Add Link in the Open drop-down menu. Now if you return to your opened PDF, the Form tool will automatically appear in the right column. Click it to open a dialog box in which your opened PDF is displayed and active by default. To automatically add interactive form fields, click Start.
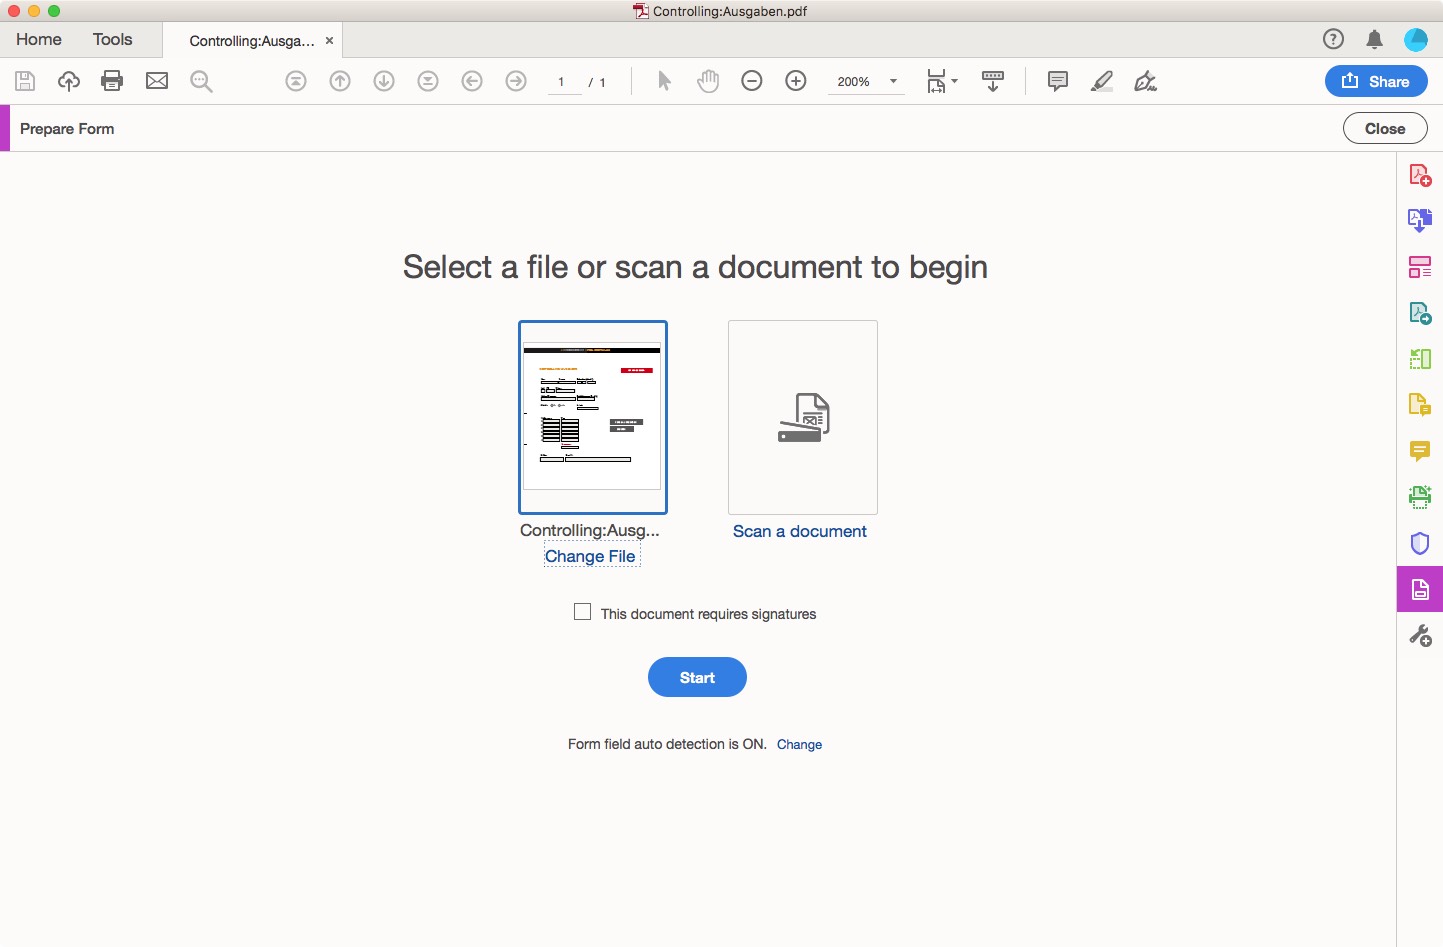
Note: Automatic recognition only works if it is activated in the Acrobat settings. A note under the Start command indicates whether the function is active or not. If the note says that automatic recognition is disabled, you can activate the function in the Forms preferences.
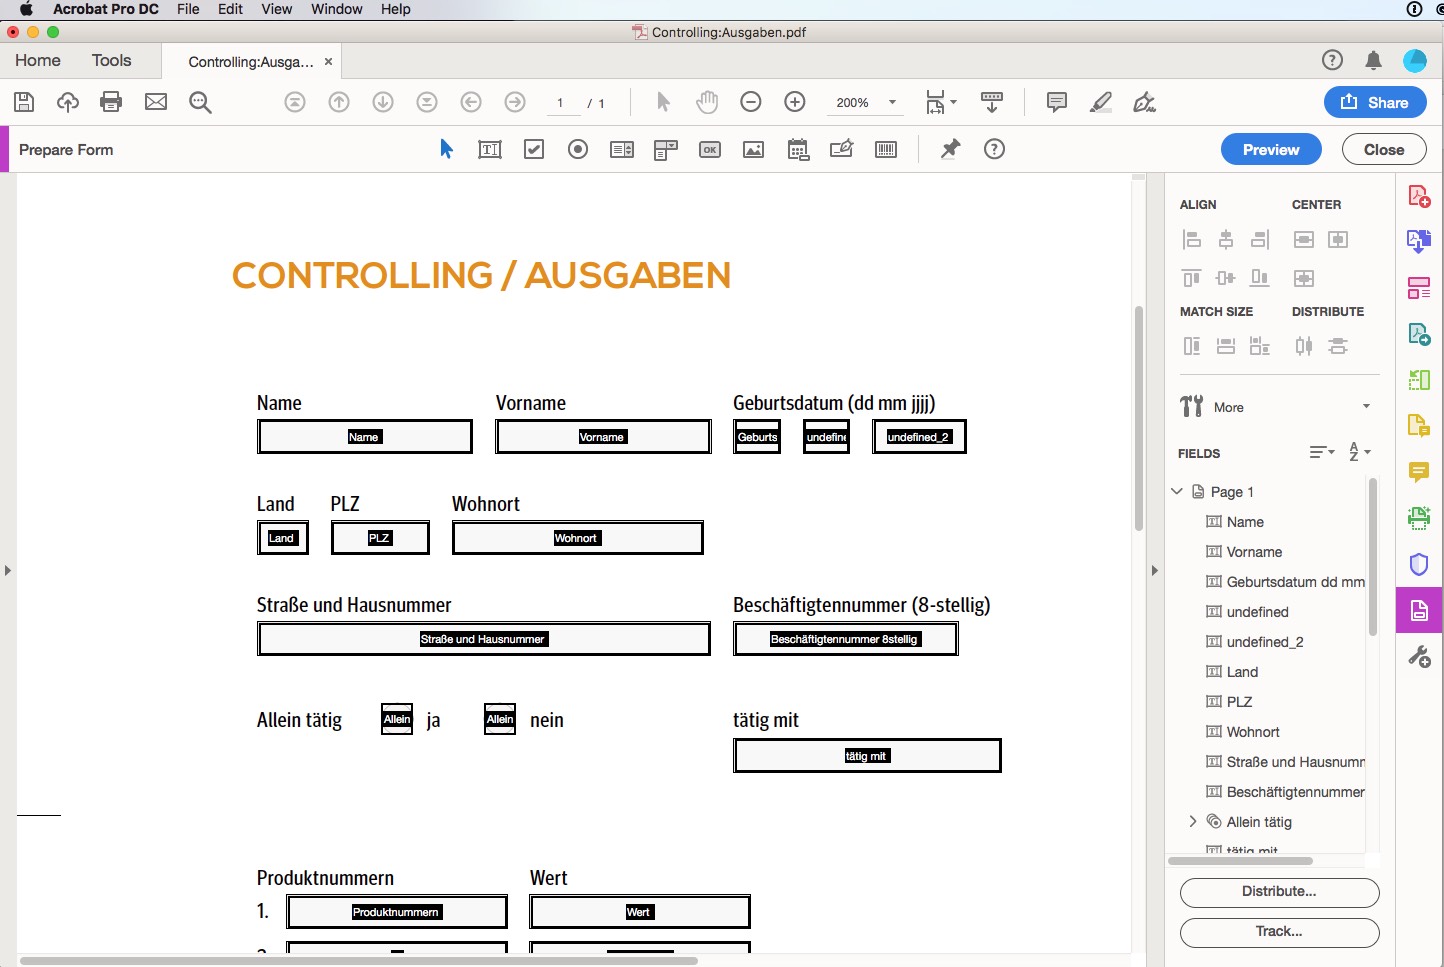
Acrobat then searches for recognisable form fields and adds the corresponding interactive fields to the PDF. Each form field in Acrobat must have a name. During automatic recognition, Acrobat assigns the form fields the name near the fields. The results of automatic recognition are acceptable and facilitate your job, especially with extensive, tabular forms that contain a large number of form fields. The automatic function does the job of dragging and positioning numerous form text fields. Special preferences, such as buttons, calculating values or validating data, must be carried out manually.
The contents of form fields in the final print-ready PDF, such as the name, address and phone number, are converted to regular page contents and printed, too. Any comments included in the document will not be printed.
Creating and inserting new form fields
With the Prepare Form tool activated, you will find the various form field tools for creating a customised PDF form in the header of the PDF.
![]()
- Text fields are used to enter information; check boxes offer multiple selection options.
- Radio buttons present a group of choices from which the user can select only one item.
- List boxes display a list of options the user can select.
- A drop-down list is a combination of a text field and a list box.
- Buttons are used to initiate an action, such as sending or printing PDF documents.
Use the corresponding tools to add further form fields. To edit existing fields, double-click on the respective field to open the field properties dialog with various tabs. On the right sidebar, you can also rename as well as edit, duplicate or delete the fields using the context menu.
Editing field functions
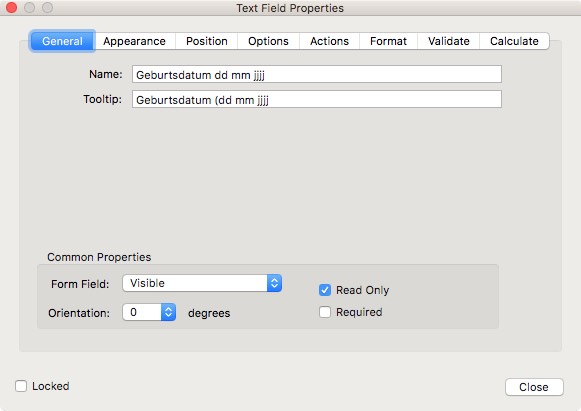
If you want to define the options for the form fields, work through each of the tabs. The contents vary based on the type of form field. Not all tabs and functions are available for all field types. In addition to the name and appearance, you can change the position and size.
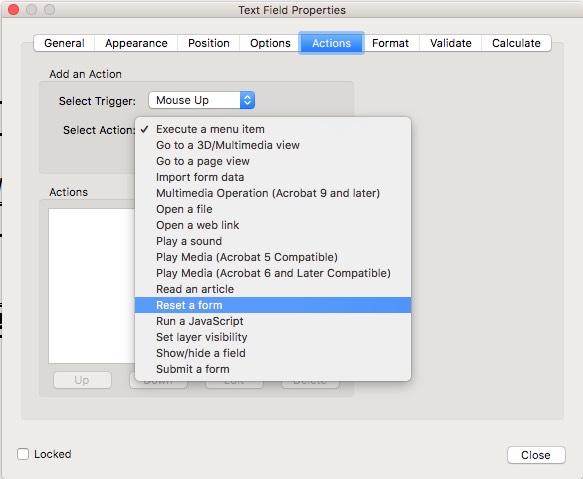
You may write-protect a field to prevent the user from editing the information displayed. Mandatory fields must be completed by the user before the PDF can be printed or sent. Moreover, you can add buttons to allow the user to perform actions such as executing a menu command or opening a website. What is more, you can create fields that perform simple mathematical functions like automatically adding values from fields. If you are versed in JavaScript, you can add scripts to the fields to extend the functionality.
Creating a PDF form and validating the input
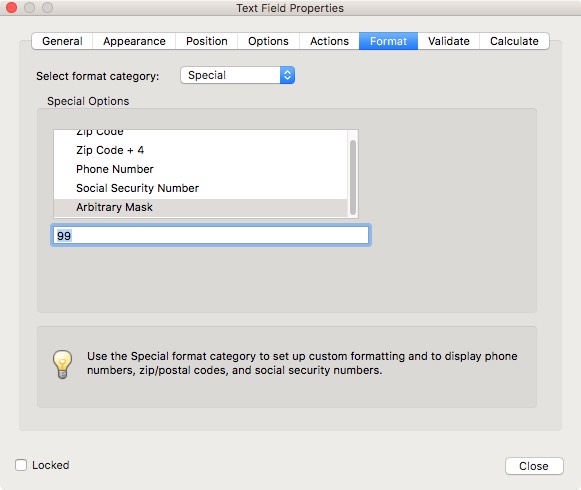
You can restrict the user input for certain fields to numbers or a specific amount, for example. Double-click a form field to open the Properties dialog and click the Format tab. Choose numbers, percent, time or date as needed in the Select Format Category pop-up menu. When choosing numbers, you have to specify the separator style below. If you only need numbers without separators, such as a membership number or the IBAN, go to Special and choose Arbitrary Mask. Then enter a 9 as the placeholder for a number from 0 to 9 in the empty row below. The placeholder “A” accepts only letters A or a to Z or z. The letter “O” accepts alphanumeric characters. By specifying the number and sequence of placeholders, you tell the form user which data to enter.
Did you know? The dialog box containing various tabs and setting options can simply be left open when activating another form field.
Changing the order and other functions
The option to jump from one input field to the next using the tab key is both comfortable and necessary to create an accessible PDF. By specifying the order of the fields displayed on the right sidebar, you define the tab order in which the user can edit the form fields. You can change the order by moving the fields up or down within this bar. By the way, it is also possible to display the order in the fields. To do so, choose Show Tab Number from the context menu.
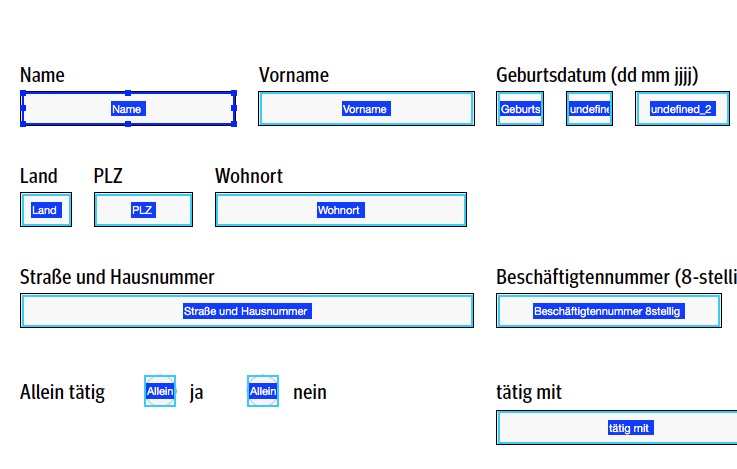
The context menu contains more useful commands for editing form fields. You can adjust the width and height of the fields, align them with each other, make copies and display the grid to which the fields can be aligned. If multiple fields are activated, e.g. to align them with each other, the anchor field is highlighted in dark blue and displays the border handles. Now if you use the context menu or the alignment icons on the right sidebar to align the fields with each other or to match their widths or lengths, the anchor will define the position and size.
Good to know! If you activate the fields individually using the Shift key, the field clicked last will be the anchor field. But if you use the selection frame to activate the fields, the field that was created first will automatically act as anchor. To change the anchor field, just click on the desired form field while holding the Shift key down.
Various alternatives to Acrobat
Acrobat is not the only software program that can be used to create a PDF form. There are a number of usually paid alternatives available, including:
- PDFelement by wondershare https://pdf.wondershare.com/
- ApowerPDF by powersoft https://www.apowersoft.com/pdf-editor
- PDFelement Pro by iSkysoft https://pdf.iskysoft.com
Besides the paid programs, there are a few free web-based alternatives, such as PDF escape and JotForm that can help you create simple PDF forms.
PDF escape: for simple PDF forms
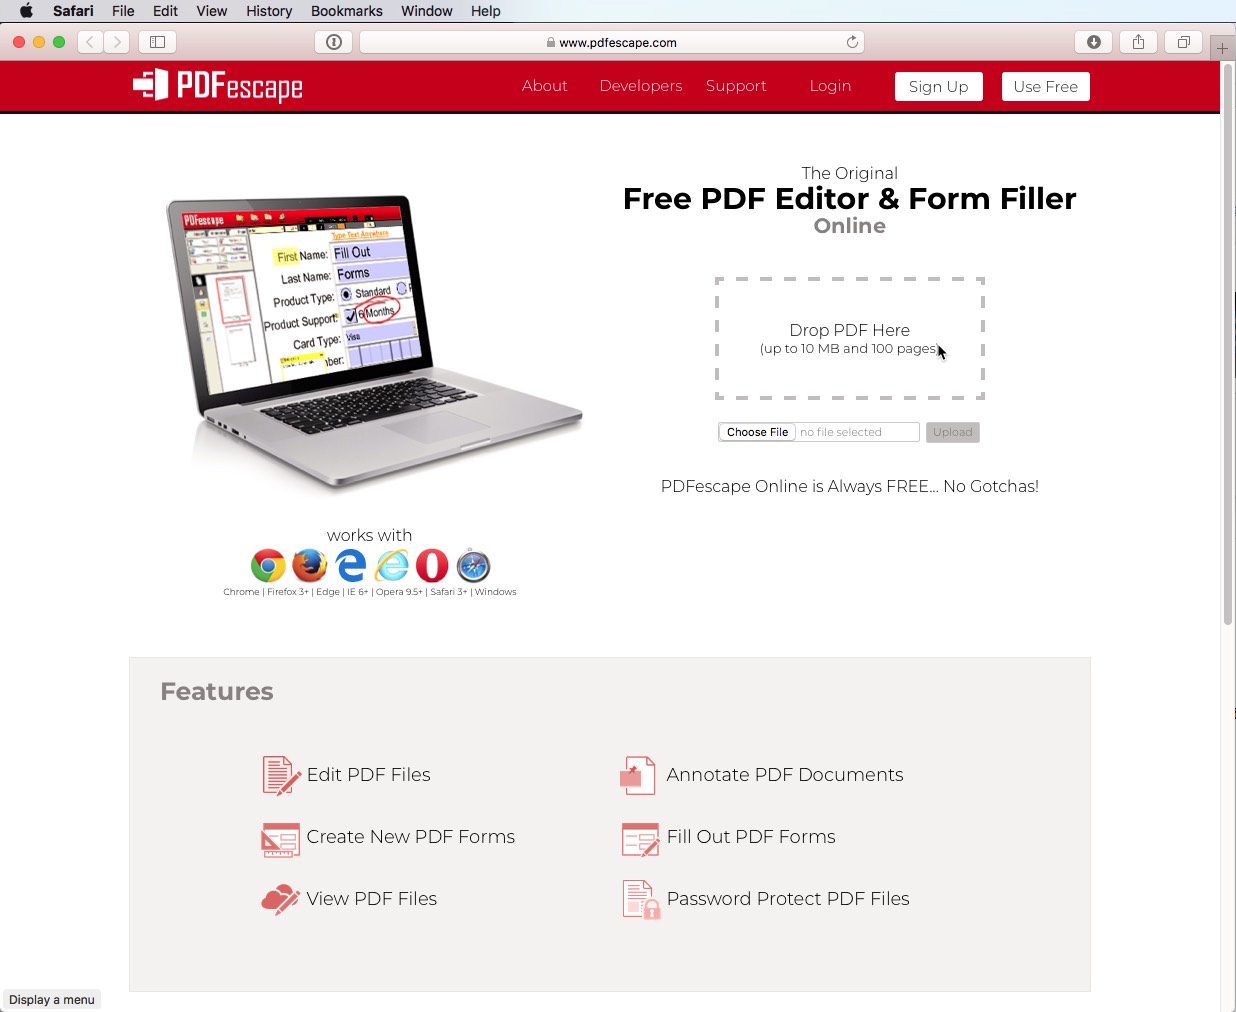
PDF escape enables you to build a PDF form free of charge using the online service. However, the limited user-friendliness and the lack of clarity turn out to be a problem: As a result, users quickly lose motivation once they have uploaded their pre-layouted PDF.
Our conclusion: The online tool is OK for a few form fields. But if you want to create an extensive PDF form with many fields and different types of fields, you will quickly reach the limits of PDF escape.
JotForm: many templates, many functions
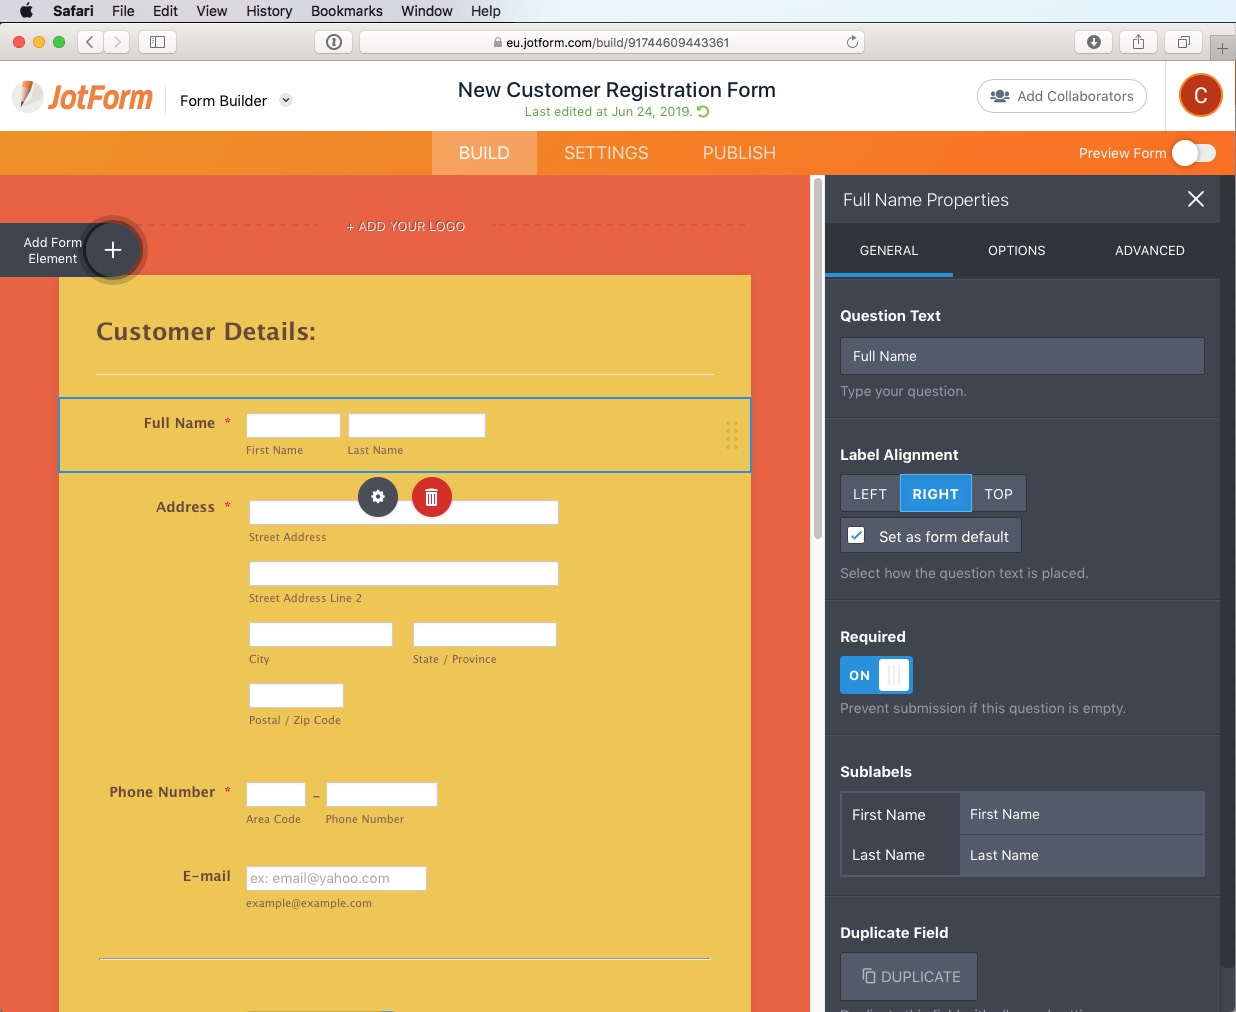
The service offered by JotForm is convenient: Generating up to four forms online each month is free; from the fifth document, you have to pay a fee. Just register on the website of the provider https://www.jotform.com/myforms and choose Create Form. You can then choose from a selection of templates which you can tailor to your requirements in a rather comfortable and self-explanatory process. After editing the PDF form, it can be downloaded and used.
Our conclusion: This is a good and above all free alternative to Adobe and similar programs. Up to four PDF forms per month can be created free of charge using templates.
Credits: Screenshots of editing in Adobe Acrobat, PDF Escape, Jotform, Title photo: VectorKnight via Shutterstock