
Black and white images have to be expressive and high in contrast to create the desired impact. In this tutorial, we will show you how to use channel calculations to create a high-impact black and white photo with just a few clicks. Moreover, we will compare the results of channel calculation with a simple conversion to grayscale. With this effect, it is the small details and specific actions that make all the difference.
Converting a photo to black and white in Photoshop may sound simple but there is much more to it than meets the eye. A lot of different moods and atmosphere can be created with black and white. Photoshop provides more than one technique for this type of image editing. In this tutorial, we will use the channel calculation tool which allows you to blend different colour channels.

Grayscaling isn’t always the best option
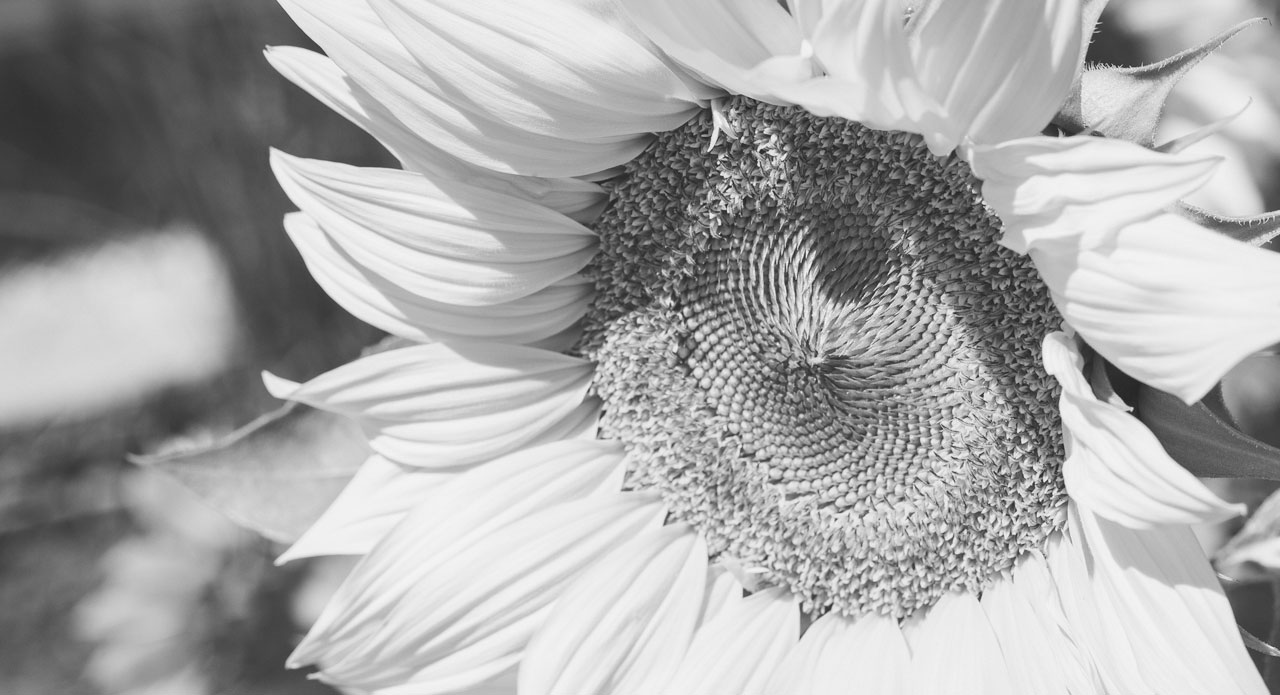
To obtain a black and white effect with as few clicks as possible, open the image in Photoshop and select Image > Mode > Grayscale. The result usually seems fine at first glance, but a closer look reveals that key image information got lost with this method. For instance, this may concern areas where the brightness value differs only slightly in two different areas of the image. These areas are usually rendered much too bright and undifferentiated with the grayscale method.
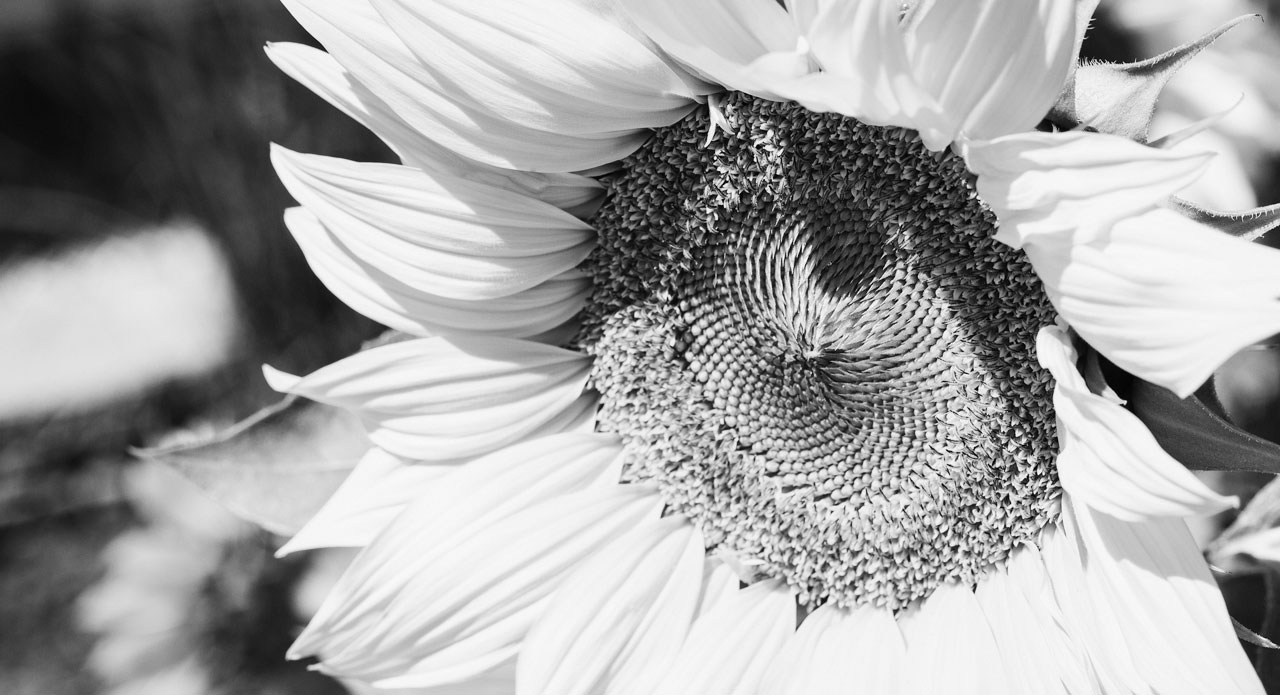
So in order to make detailed image information stand out in black and white as well, it is a good idea to blend different colour channels.
This method allows creating clean contrasts also in adjacent image areas with little differences. We therefore choose channel calculation in this tutorial to create a high-contrast black and white effect in Photoshop.
Understanding Photoshop colour channels
In order to understand how the channel calculation tool works, you should first familiarize yourself with the colour channels in Photoshop. To do so, go to the Channels panel next to the layers. It shows the different colour channels depending on the colour space of your image. In an RGB image, the channels are red, green and blue. In a CMYK image, the channels are cyan, magenta, yellow and key. You can click through the individual colour channels.
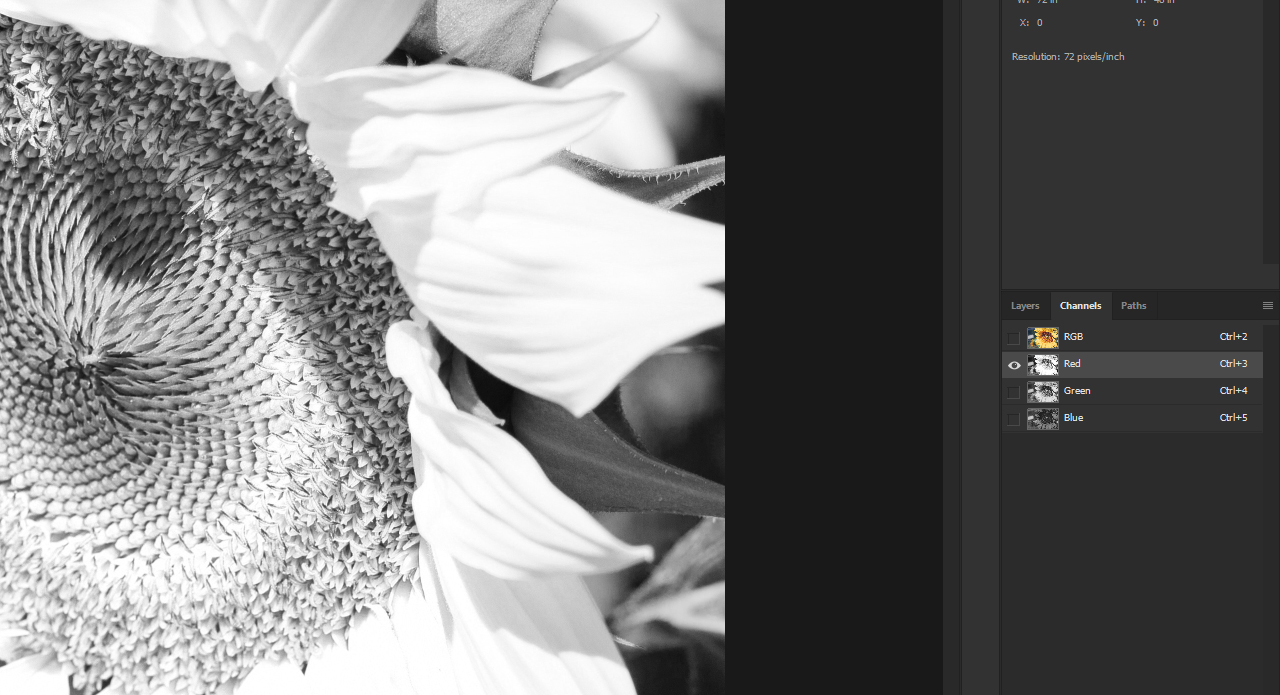
When you do so, you will see that a black and white image is created just by clicking on the corresponding colour channel. But these are only the colour portions in the image. If you click the red channel, for example, all red portions in the image will be displayed in black. The same is true for the colour channels green and blue in the case of an RGB image. By overlaying all three channels and blending the colours, the finished coloured image is obtained. We can use exactly this type of overlaying to create the desired black and white effect with the help of channel calculations.
Text tutorial: Creating a black and white effect in Photoshop
Step 1: Select channel calculations
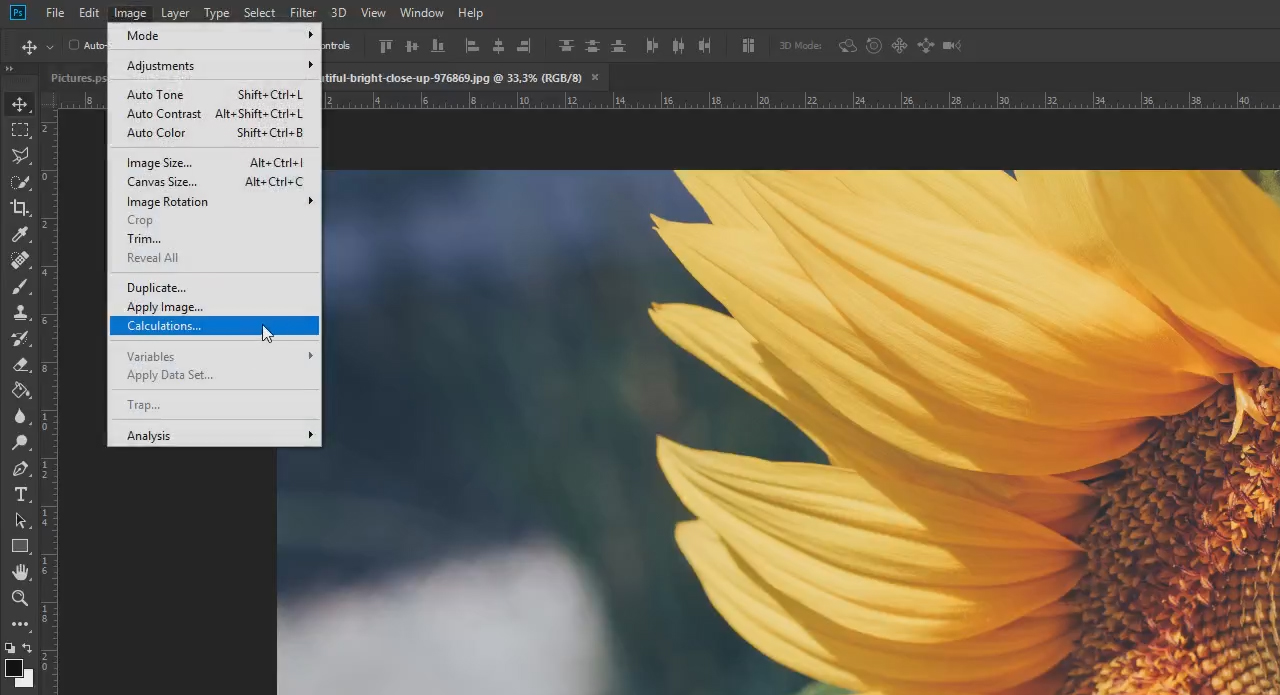
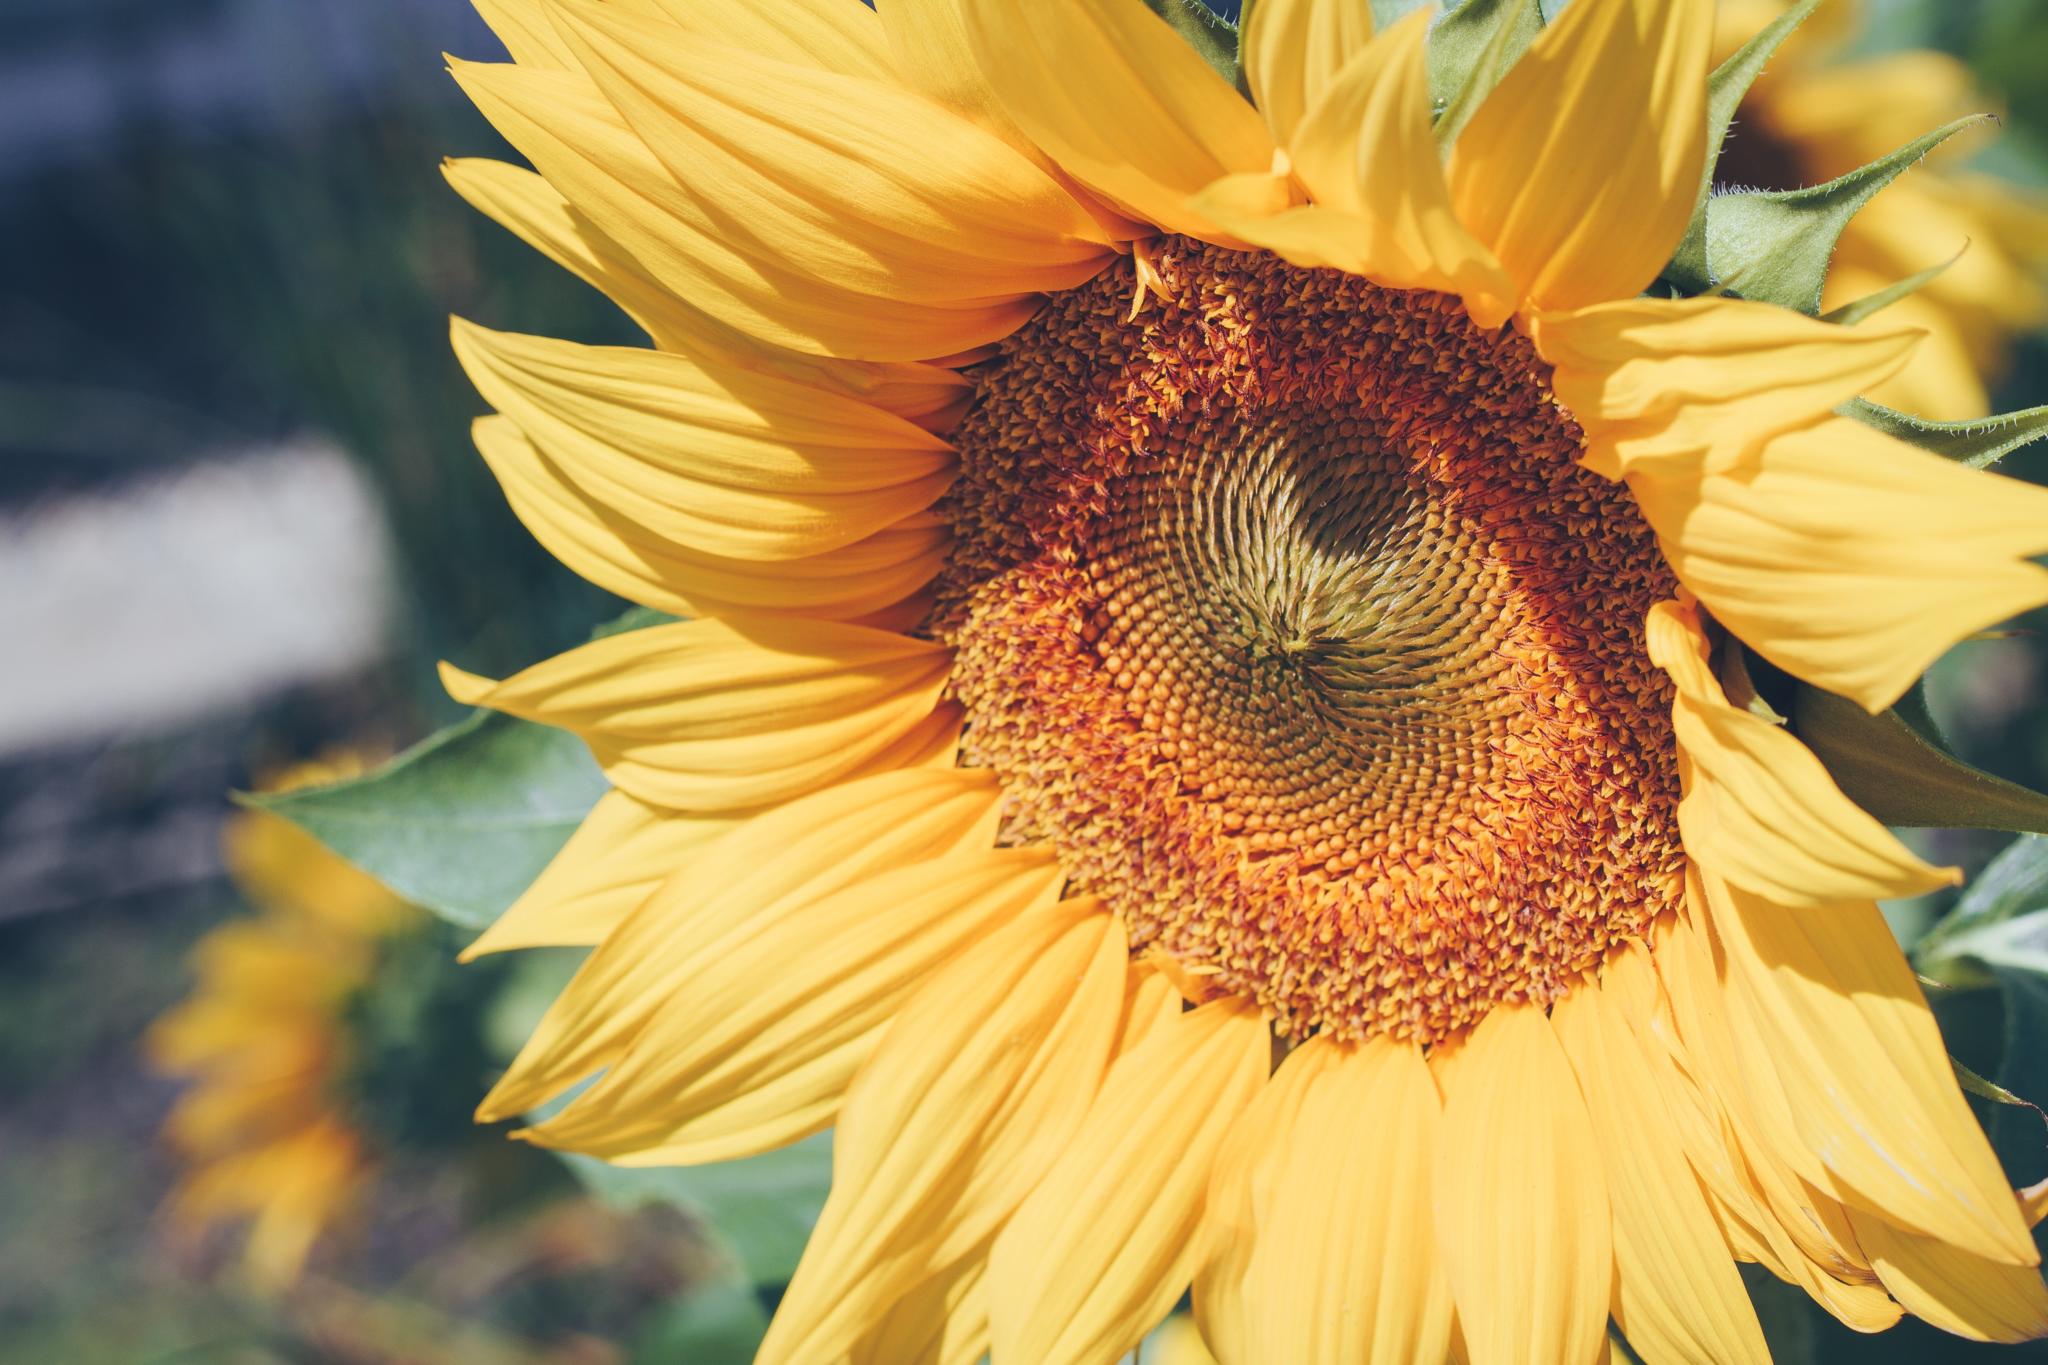
As already mentioned, you can create black and white images from RGB and CMYK images. In this example, we want to convert a photo of a sunflower to achieve maximum contrast. With your photo opened in Photoshop, click the Image menu item to access the calculations.
A dialog box opens showing two sources in which the desired colour channels can be selected as well as a blending mode which contains the classic fill methods. Once you have selected the calculation tool, your image will immediately be displayed in black and white because two colour channels are blended here depending on the default setting. In this example, it is the blue channel in “Source 1” and the red channel in “Source 2”. The blending mode is set to Multiply by default.
Step 2: Blending colour channels
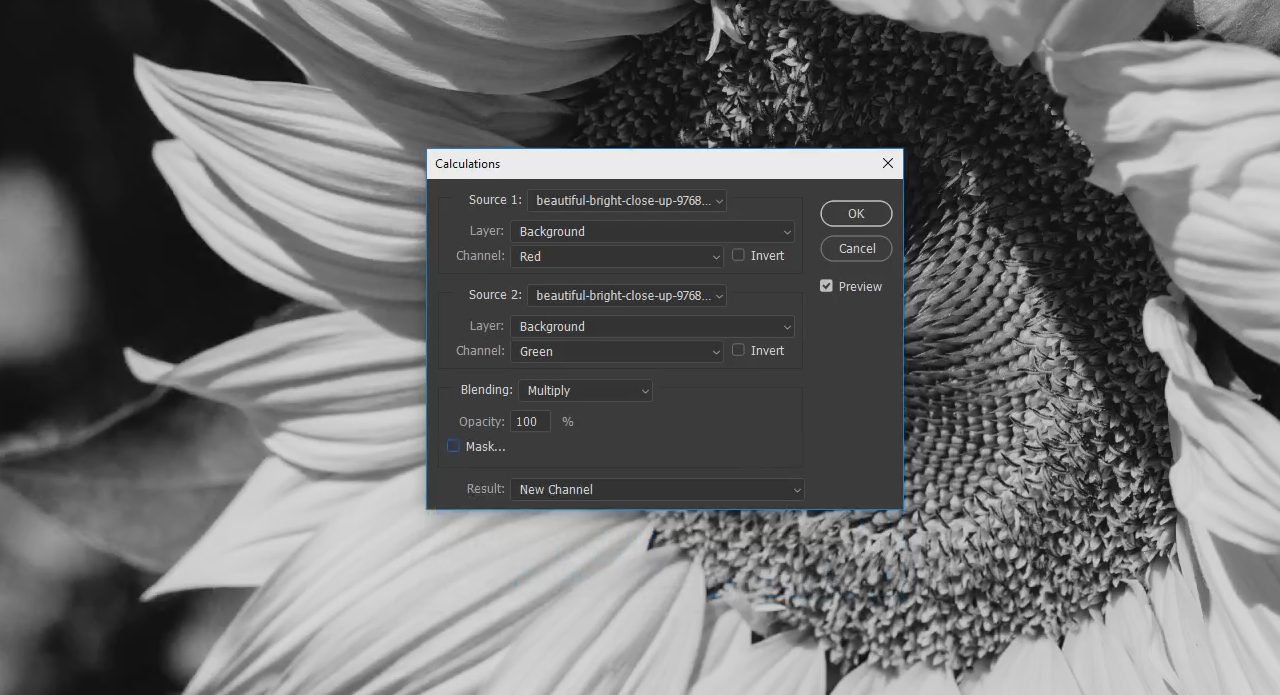
You can now start to blend the different channels. Click the Channels drop-down menu and choose an available colour channel under “Source 1” and “Source 2”. Alternatively, a preset grayscale image is suggested here which you can also use for overlaying. Just try out all channels until you achieve the best result. In this example, the red and green channel give the best contrast and the best black and white result.
Step 3: Select the blending mode
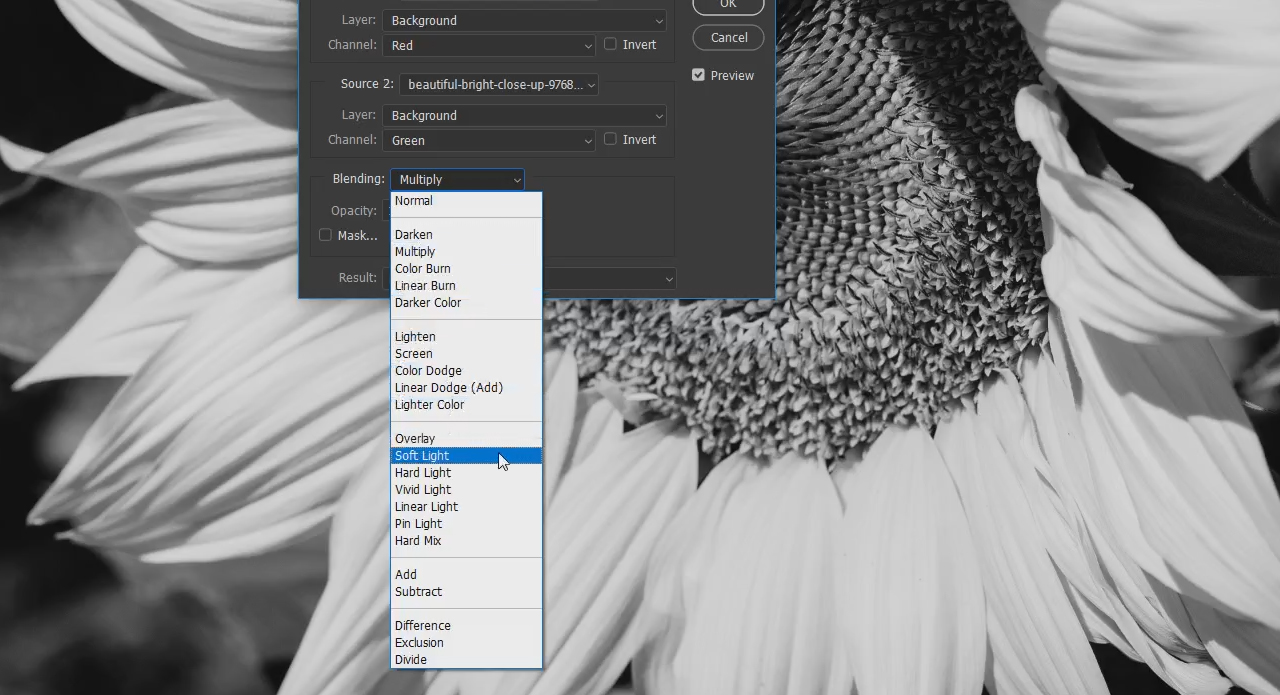
The contrast is already quite good, however, the transition from black to white is a bit too harsh and abrupt. To remedy this, you can try out the different blending modes or fill methods. Just find the blend mode that yields the best visual result. In our example, it is the blending mode Soft Light with 80 % opacity.
Step 4: Result output
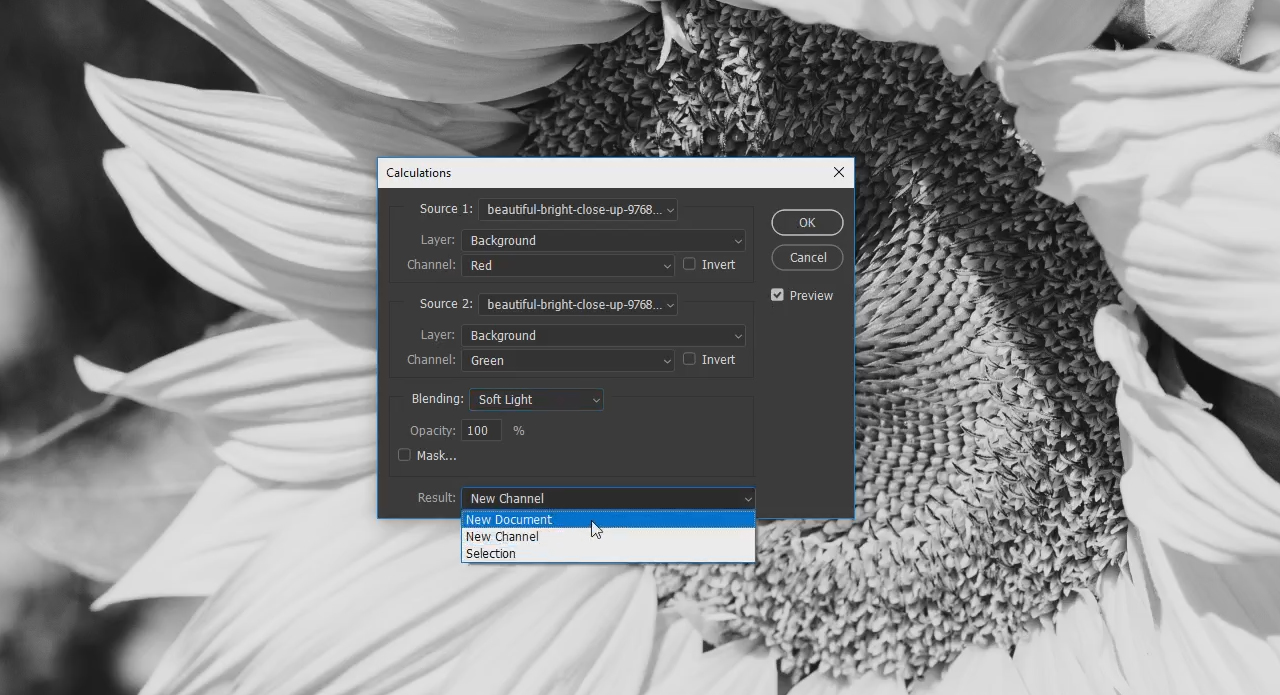
If you like the result, you can output the image in the Result drop-down menu either as a new channel, selection or as a new document. We recommend choosing a new document to directly process the image further. After the channel calculation tool has created your new document, you get a so-called “multichannel image”.
Step 5: Convert the multichannel image

For optimum further processing, you can now convert the image to RGB or CMYK mode. The multichannel image contains only two channels. For this reason, you cannot select RGB or CMYK directly under the menu item Image > Mode. First, convert the image to grayscales. If you click again on Image > Mode, you will see that RGB and CMYK are enabled.

Afterwards, you can save or edit the image.
Credits:
Text tutorial, video tutorial and design by Christoph Ullrich, media designer.