
Photoshop provides a wide set of advanced editing options such as adjusting colour, retouching image areas or text overlay. But sometimes a photo just needs to be cropped for a perfectly balanced composition. The Crop tool is a useful and simple function to resize photos to custom dimensions or to specific values. In this tutorial, you will learn how to crop your photos to the desired size quickly and easily.
A basic Photoshop function is to resize images for a specific application. The larger the image size, the better the quality of the printed photo. Photos to be published on the internet, however, should be as compact as possible. Therefore, it is often necessary to crop photos. This is relatively easy in Photoshop. The tool provides some convenient and easy-to-use functions to crop images directly during the workflow.
How to resize photos in Photoshop – using the Crop tool
In Photoshop, cropping usually refers to isolating a subject in the foreground from a background. But it can also mean that redundant background is cut off. The Photoshop Crop tool makes it a breeze to resize a photo to the desired dimensions.
Step 1: Choose the image area
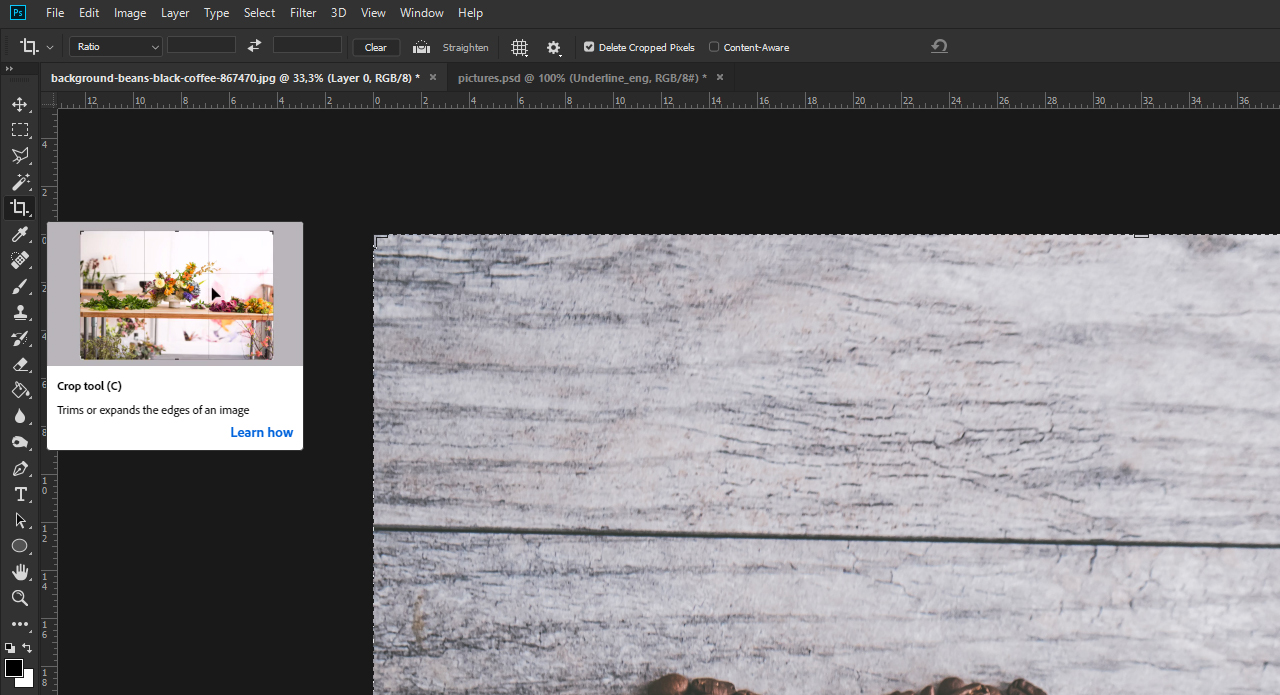
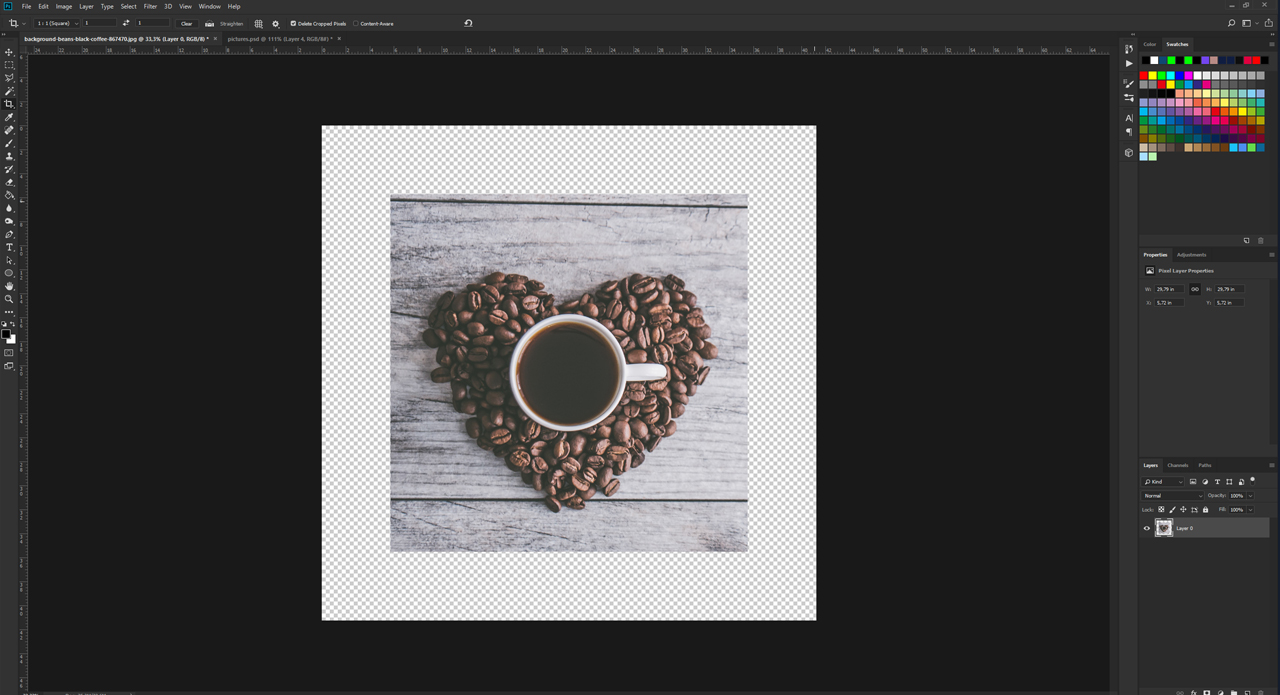
In the example, we want to focus the view on the cup and the coffee beans and crop the excess background. To do so, choose the Crop tool in the Tools panel. A crop box is displayed when you left-click on your photo. Drag the corner handles to adjust the size of your photo. Everything inside the crop box will be preserved after cropping.
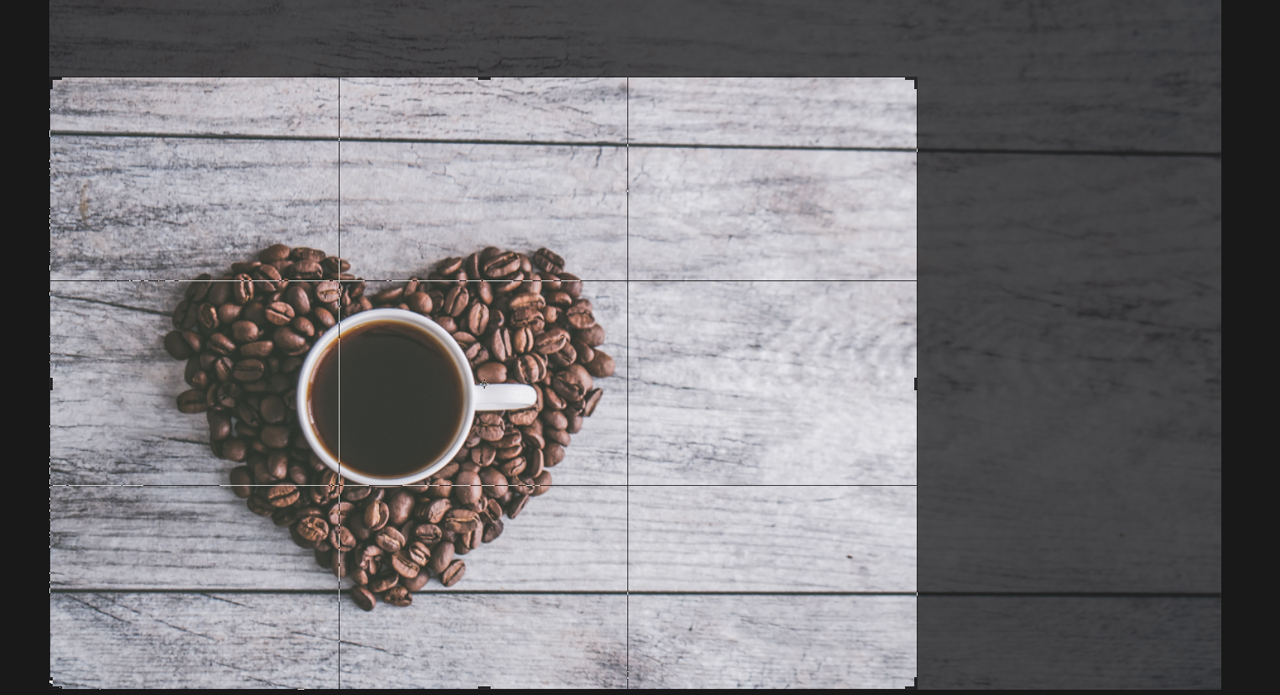
To focus the view on the coffee cup and coffee beans, grab the upper right corner and drag it towards the centre. As soon as you release the left mouse button, all areas to be removed appear greyed out.
Step 2: Add the image ratio
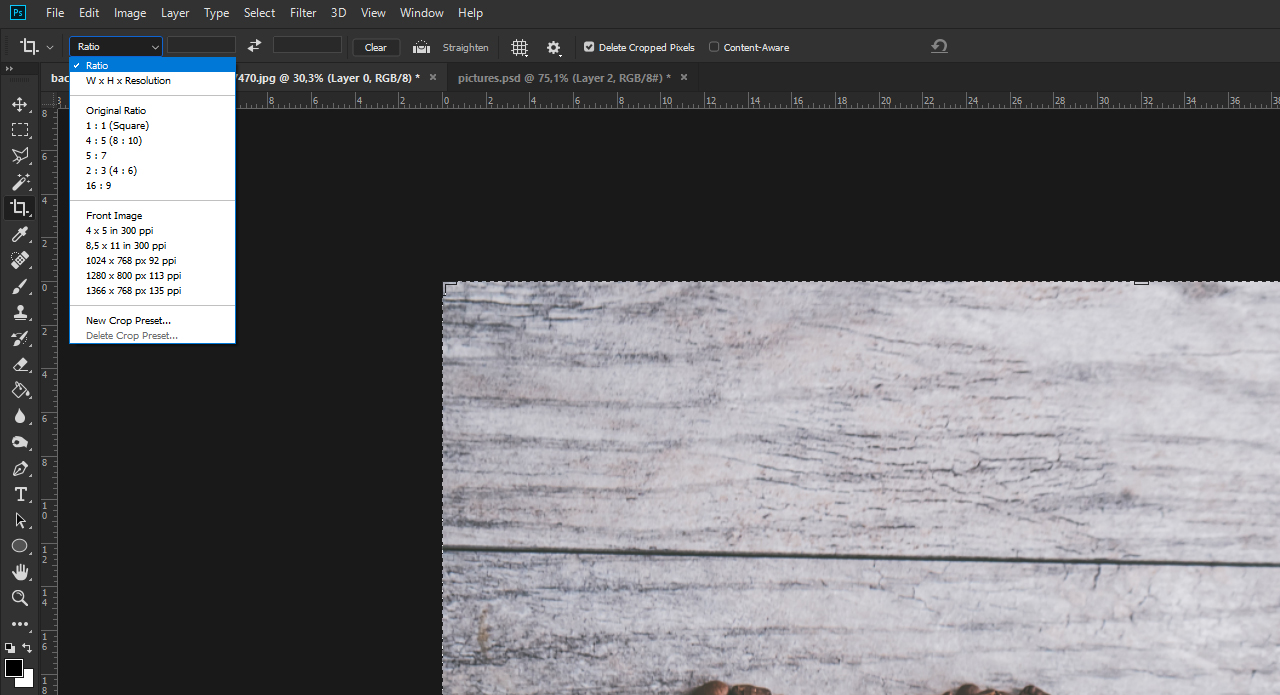
It can be a bit tricky to manually align the crop box to specific proportions. To make this easier, you can define an aspect ratio in the tool options bar at the top. You can either type in a custom size or choose one of different aspect ratios in the drop-down menu. In the example, we chose the aspect ratio 1:1 (square). The crop box in the photo will resize accordingly. If you left-click on the photo outside the crop box, you can move the image area below the crop box.
Step 3: Adjust the crop box and crop the photo
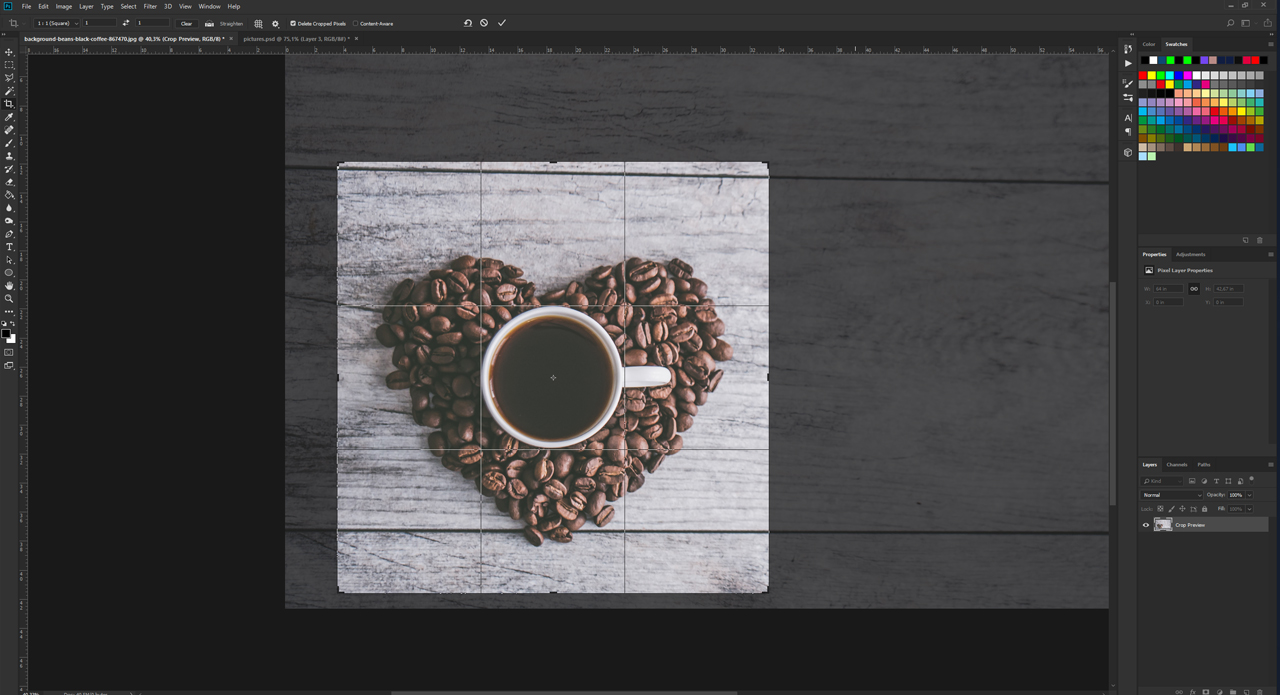
After you have adjusted your image area to the crop box, left-click again on the corner handles, hold the left mouse button down and drag them to resize the crop box as desired. The set aspect ratio of 1:1 causes the frame to be scaled up or down proportionally.
Tip: Hold the ALT key pressed and grab one of the corner handles to adjust the crop box proportionally, but this time from the centre.
This allows you to select the optimal image area. After you have defined the image area, press the Enter key to perform the crop. The crop box disappears and you only see the area that was inside the box previously.
Important: If you crop photos in Photoshop, the cropped sections will be deleted. If you want to define a different image section later on, undo the step by pressing CTRL+Z and select a new image area.
Credits:
Tutorials (text and video) and design by media designer Christoph Ullrich.