
The drop shadow is a staple among Photoshop effects and ideal to create convincing composites. You can make design features stand out from the background with just a few clicks. We show you how to add shadows to create modern web designs and realistic looking composites using application examples from web design and classic image editing.
In the early 2000s, web and UI designers used heavy shadows in abundance to highlight buttons. Fortunately, this excessive design trend is a thing of the past. Having all but disappeared for a few years, shadows on the internet are slowly making a comeback. This time, however, they are used in a subtle and selective manner.
To create convincing photo composites, the angle of incidence of the light source and the background on which the shadow is cast are crucial. We will show you how to add a hard drop shadow and a very soft shadow in Photoshop.
Modern shadows in web layouts
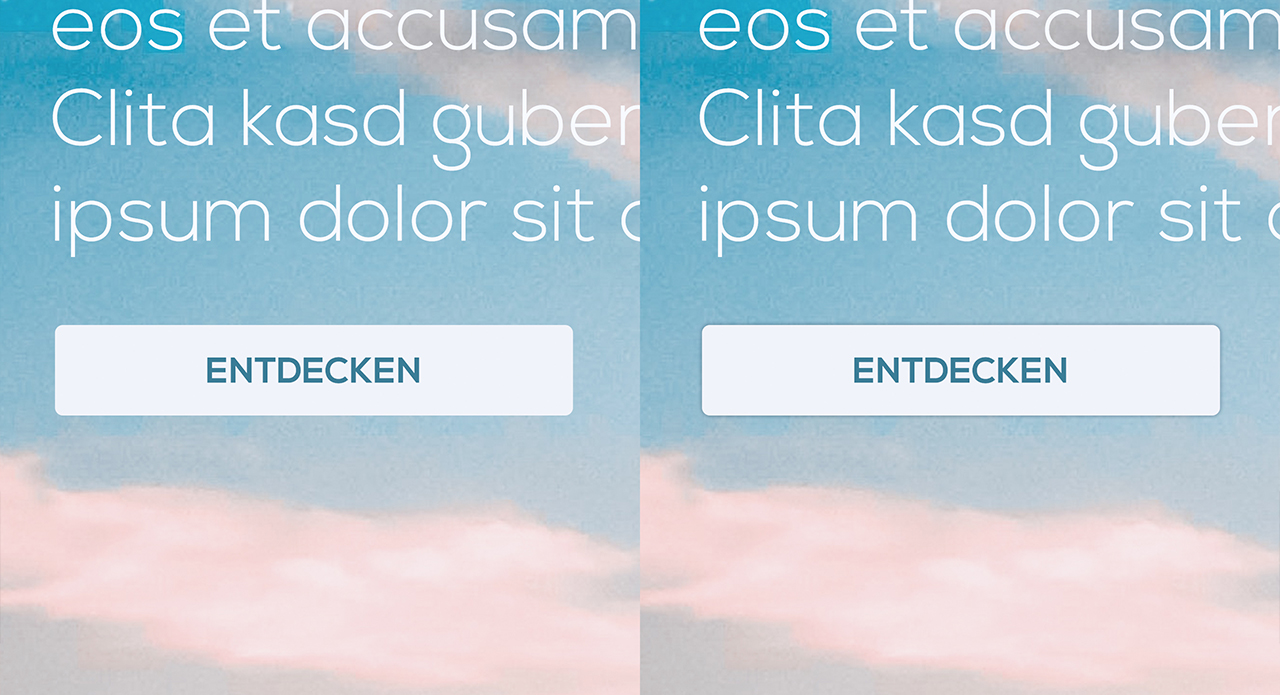
The first application example is a colourful and flashy landing page without shadows. The website includes interactive buttons which we want to highlight by adding shadows. To create a drop shadow, first double-click the layer with the button. Select Drop Shadow at the bottom of the Blending Options list. If you set the opacity to 100 percent in the Structure section of the Drop Shadow options, you will get that typical look of the 2000s: a bold and heavy shadow.
Today, designers tend to prefer the “less is more” approach. So we will add a subtle drop shadow to highlight the button to show users that it is interactive.
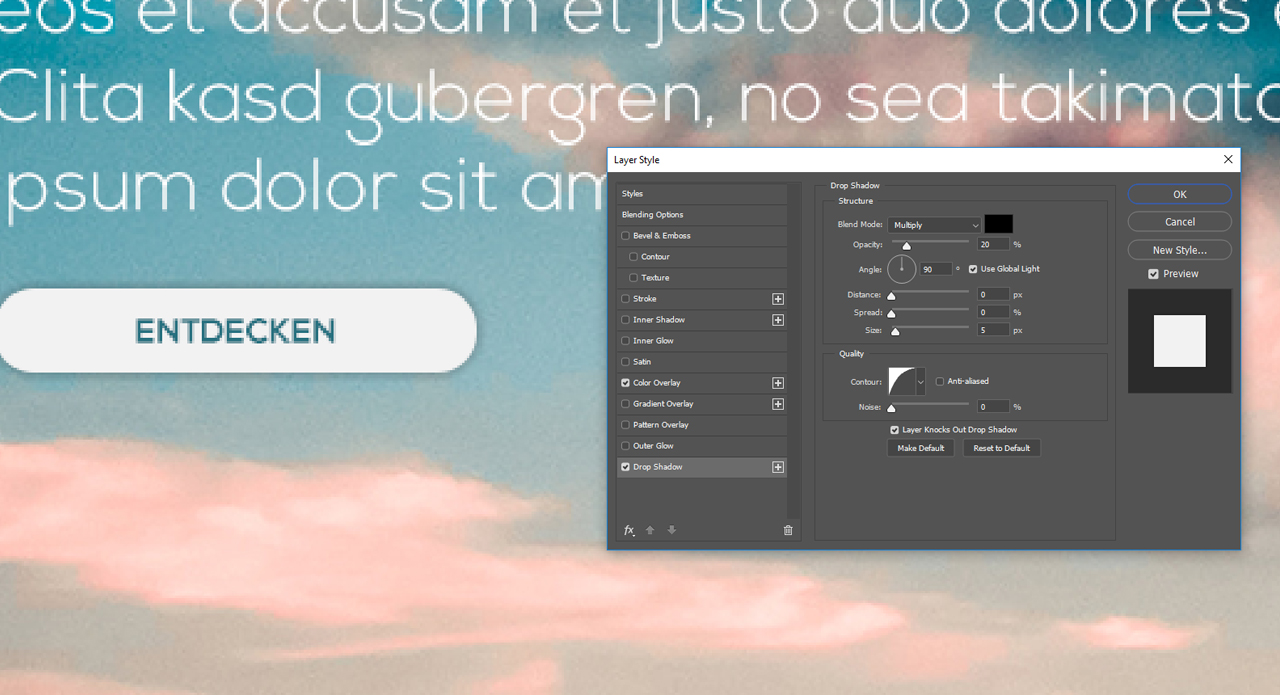
To achieve this, first move the Opacity slider of the shadow to 20. Then if you set the distance to 0, you don’t have to specify an angle. We want the shadow to look the same all around the button. Next set the size to 5 px to blur the shadow. Now a subtle shadow should already be visible but it is still too weak to highlight the button.
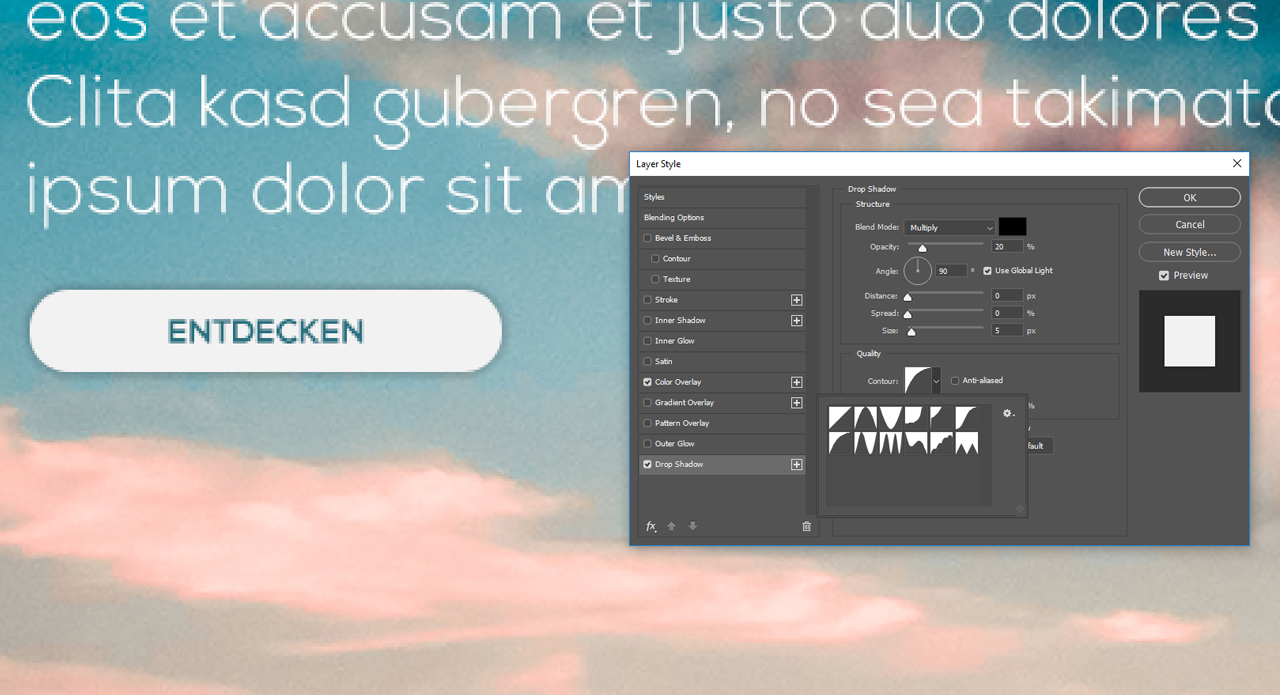
To make the button pop, click the Contour drop-down list box to choose a contour shape that determines how the shadow fades out. We use the rounded contour in the example.
Don’t worry, you don’t have to repeat these steps for every single button. Right-click the button to which you just added the shadow in the Layers panel and click Copy Layer Style. To apply the effect to all other buttons, right-click the layers and choose Paste Layer Style.
Creating hard drop shadows in Photoshop

When doing composite work, you often have to add shadows when merging photos together which were taken under different conditions. In the example, we want to blend a ball pen into a photo showing several other items. We already adjusted the visual appearance, and especially the colour of the pen, to the style of the photo. So all we have to do now is add a shadow to nail a believable composition.
The shadows cast by the other objects in the photo tell us that the light source is shining on them from the upper right. Open the Blending Options again in the Layers panel and activate the Drop Shadow check box.
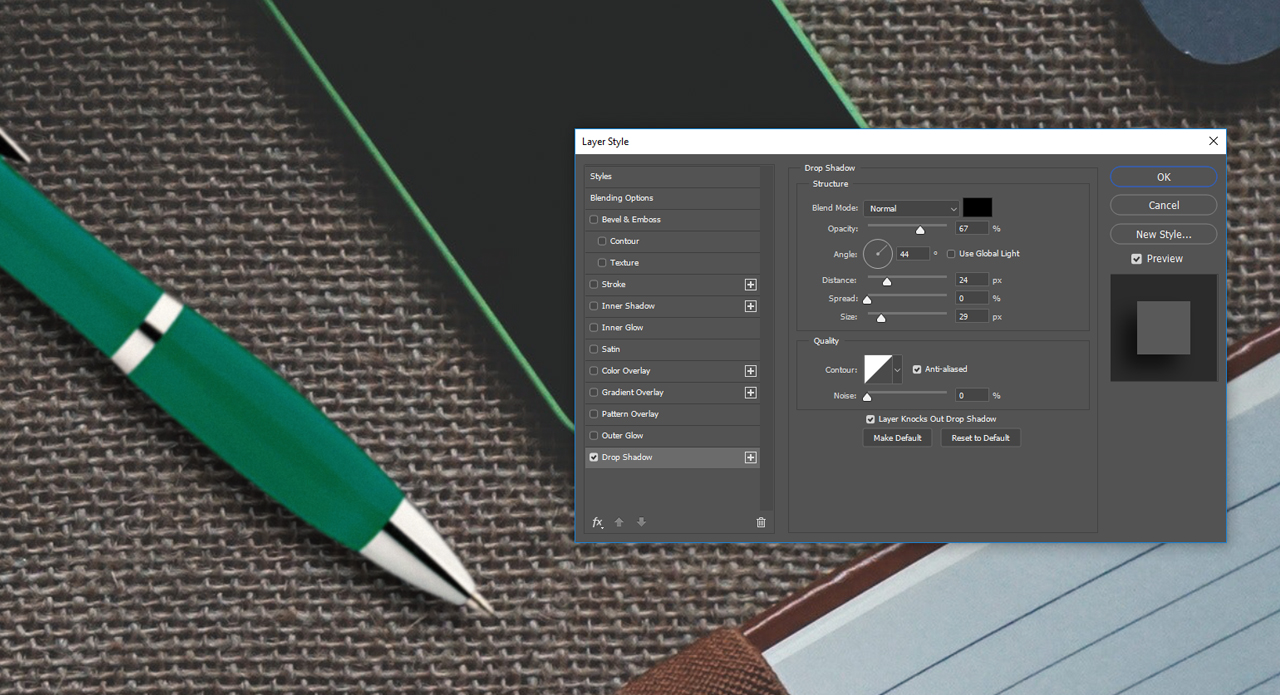
Begin by setting the opacity to 67 percent and the angle to 44 degrees. This will give the shadow the same orientation as the shadows of the other objects. Then set the distance to 24 px and the size to 29 px. The shadow cast by the ball pen already looks quite convincing. But in order to achieve a harmonious overall impression, you have to adjust the relationship between highlights and shadows on the pen itself.
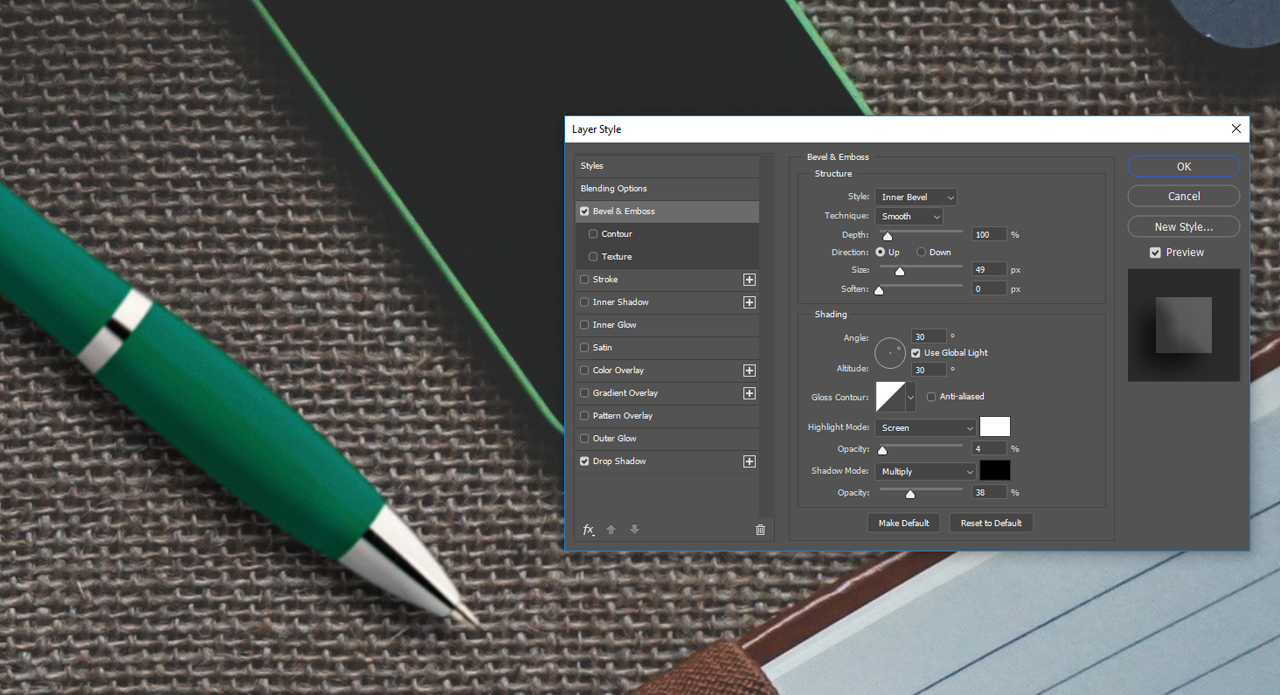
In the Blending Options, click Bevel and Emboss. Set the Depth slider to 100 percent and the Size slider to 49 px. Then define the light source using the small circle below Angle in the Shading section. Set the angle to 30 degrees and the altitude also to 30 degrees. Finally, move the bottom sliders for the highlights to 4 percent and the shadows slider to 38 percent. Voilà! The ball pen has been blended into the photo to create a realistic result.
Creating cast shadows in Photoshop
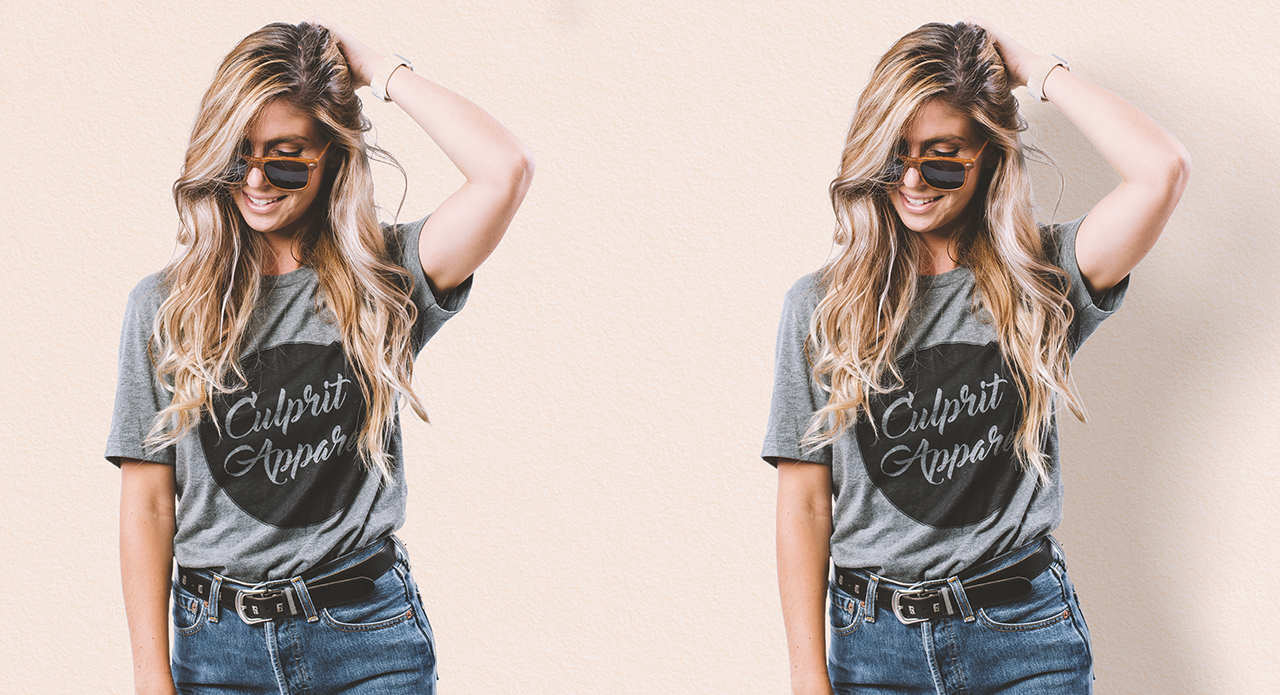
A naturally cast shadow adds realism to composite photos by integrating a person or object into the scene. As in the second example, we have already extracted the person whose shadow we want to cast on a plastered wall. Open the Blending Options again via the layer of the extracted person and activate the Drop Shadow check box.
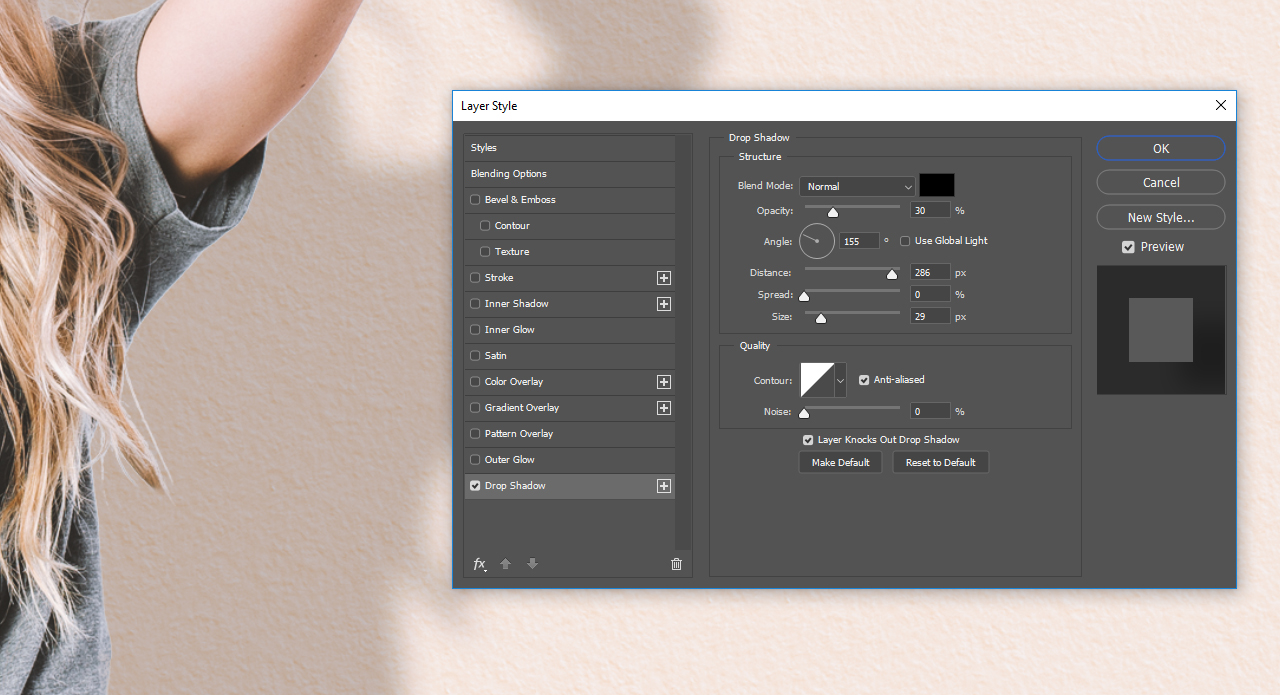
In this case, we assume that the light source is located in the upper left corner. To create a natural shadow effect, set the opacity of the drop shadow to 30 percent and select a 155 degree angle. Set the depth to 286 and the size to 18 px.
Tip: When dragging a slider to the far right in Photoshop, this does not necessarily mean that the maximum value has been reached. In the example of the drop shadow, you can enter a much higher value manually and the slider will move beyond the maximum limit.
Fading soft shadows to the side
We will retain the default values of the other drop shadow settings. What’s special about a cast shadow in the real world is that it appears darker and more sharp-edged near the person and softens as it gets further away. To nail this effect, you will need the shadow you have just defined as a separate layer.
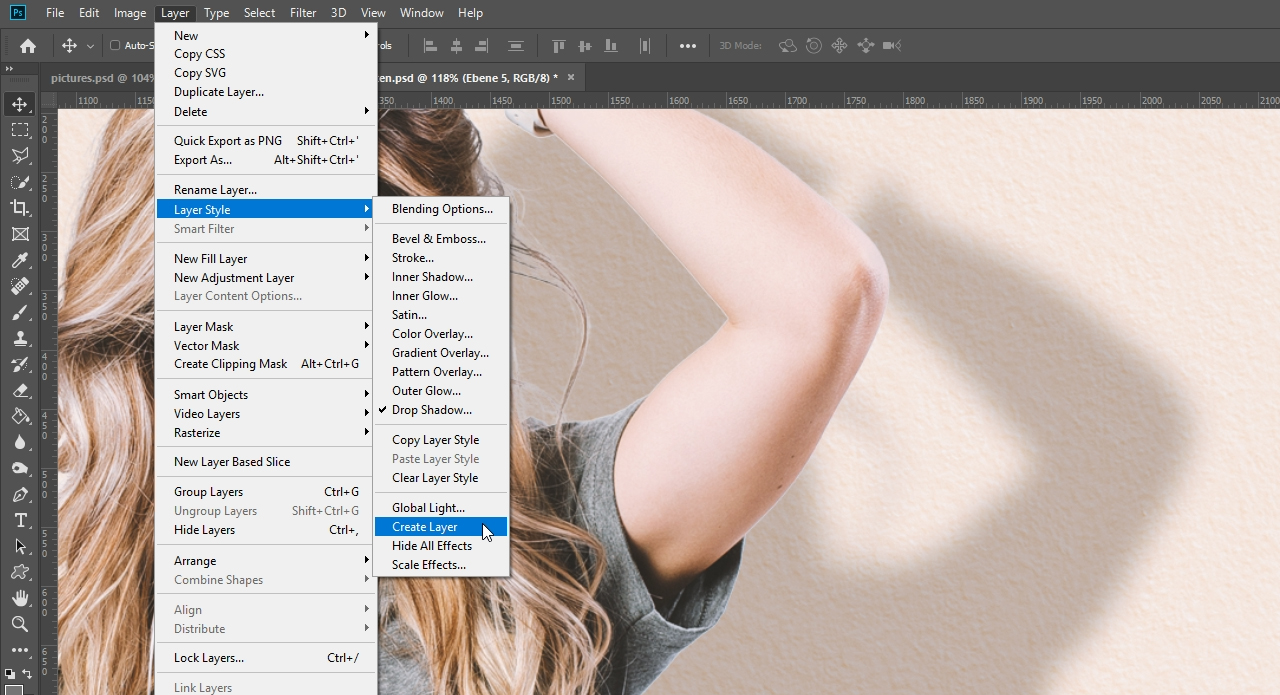
Click Layer > Layer Style > Create Layer in the upper menu. The drop shadow and the extracted person are now on two different layers. Then select the shadow layer and click Filter > Blur Gallery > Field Blur in the top menu.
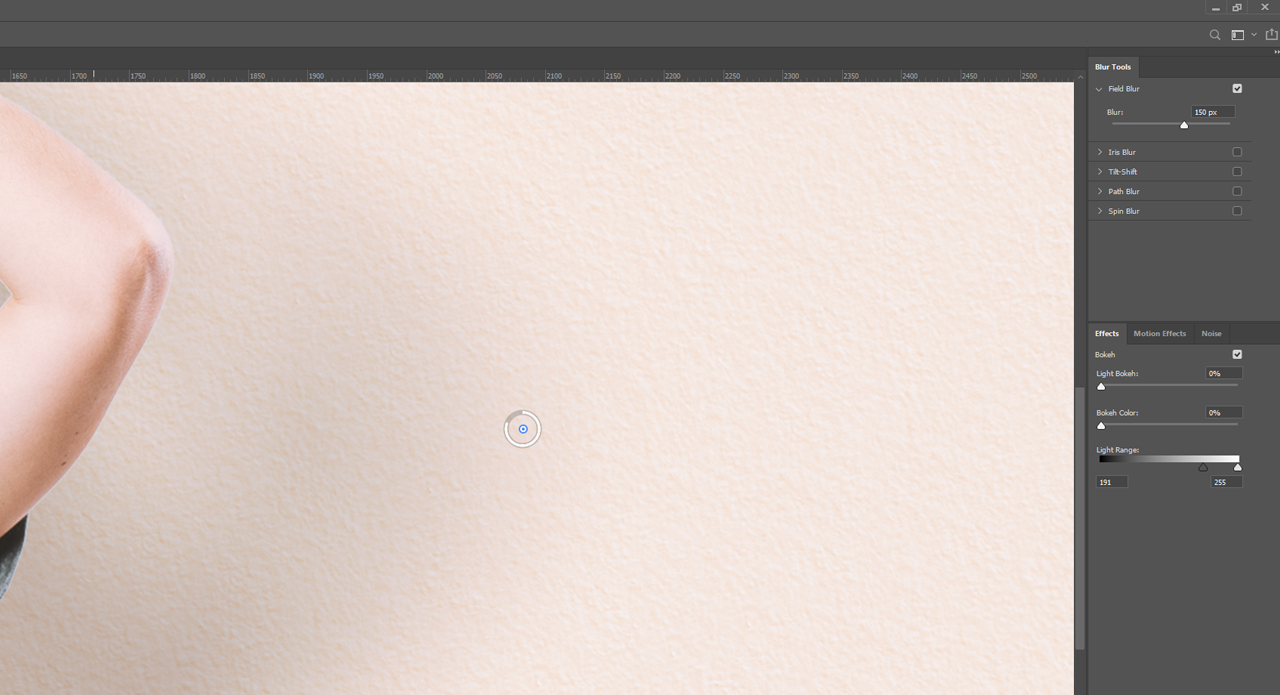
This filter now enables you to add blur at defined positions. Set the first point approximately at elbow height by left-clicking on your photo. A field blur pin is then placed on the image. Drag the blur handle to increase or decrease the blur.
In our example, we use a value of 150 px. You can manually change this value if necessary in the settings panel on the right. Next set a second blur pin at the level of the belly and enter a value of 130 px. Finally, add a third blur pin just below the hip with a value of 80 px. This creates a much more natural-looking shadow and you can confirm the blur with OK.