
When an online print shop asks you to supply “print-ready PDF files”, chances are you don’t have a clue what they are talking about. That’s not surprising since not everyone is fluent in print language. In this short tutorial, we will demonstrate the PDF export process in Adobe InDesign.
Put simply, print-ready means that the print shop is able to process your data in a way that guarantees a flawless print product. The print shop needs a print-ready PDF to deliver the desired result to the customer without blurred areas, unwanted colour casts or white spots where there aren’t supposed to be any.
If you comply with the specifications of the print shop and supply print-ready artwork, you are on the safe side as a customer and one step closer to getting perfect printings.
Settings in the Export dialog box
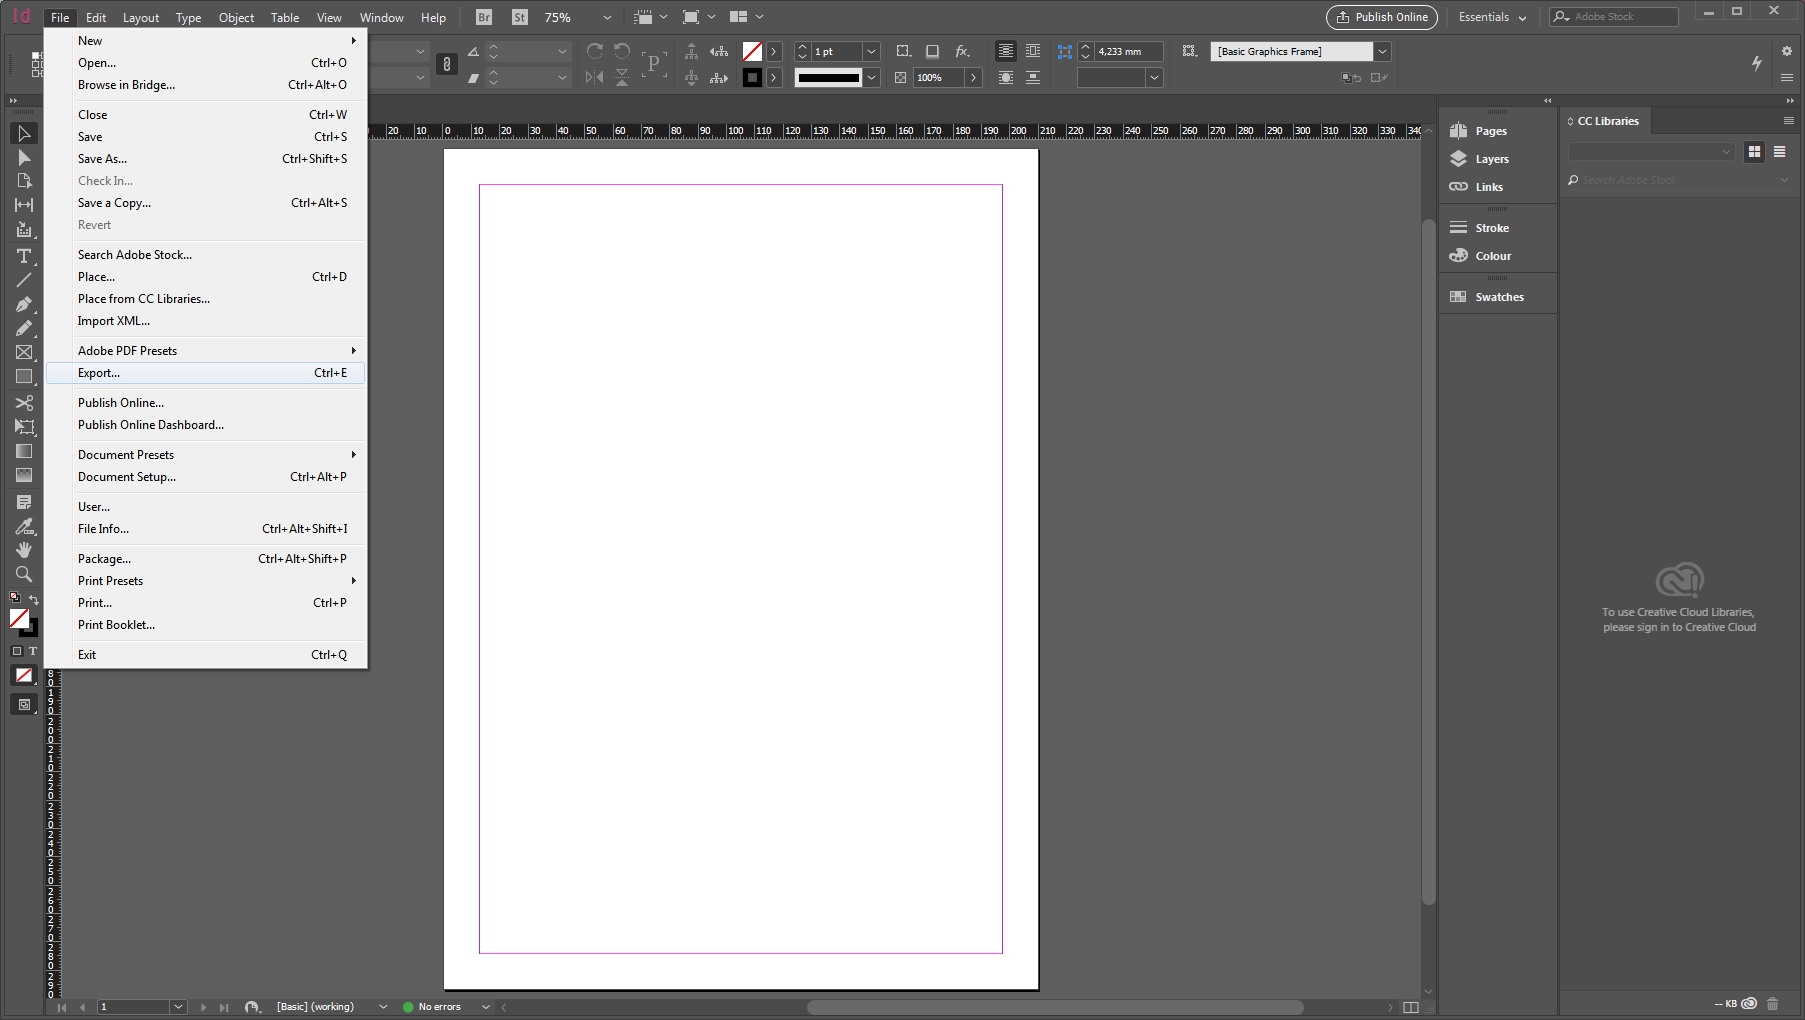
If the design is ready to be exported, open the Export dialog box by pressing Ctrl + E (Mac users press Cmd) or File > Export.
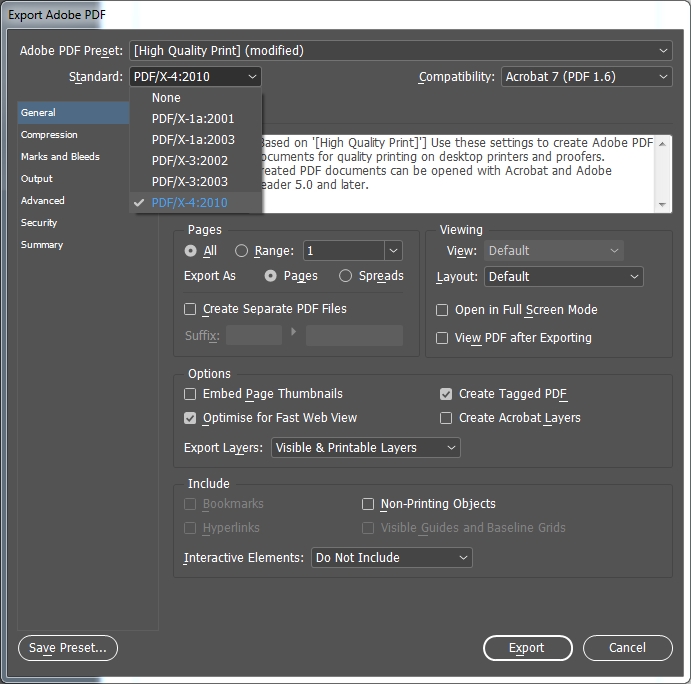
General
On the General panel, select the PDF/X-4:2010 standard. Acrobat 7 or PDF 1.6 is displayed as compatibility.
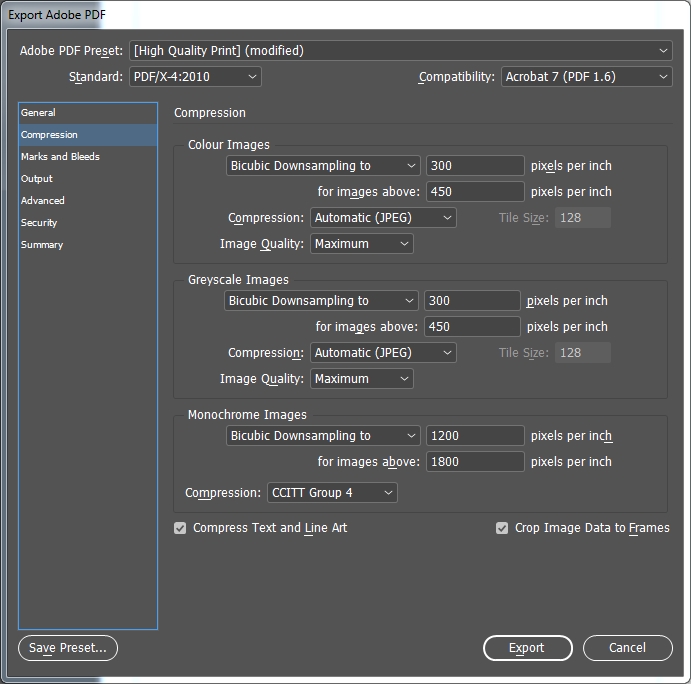
Compression
The InDesign default settings at Compression are sufficient in most cases. A setting of 300 dpi assures an excellent and vibrant print result provided that the original material is of a similar quality.
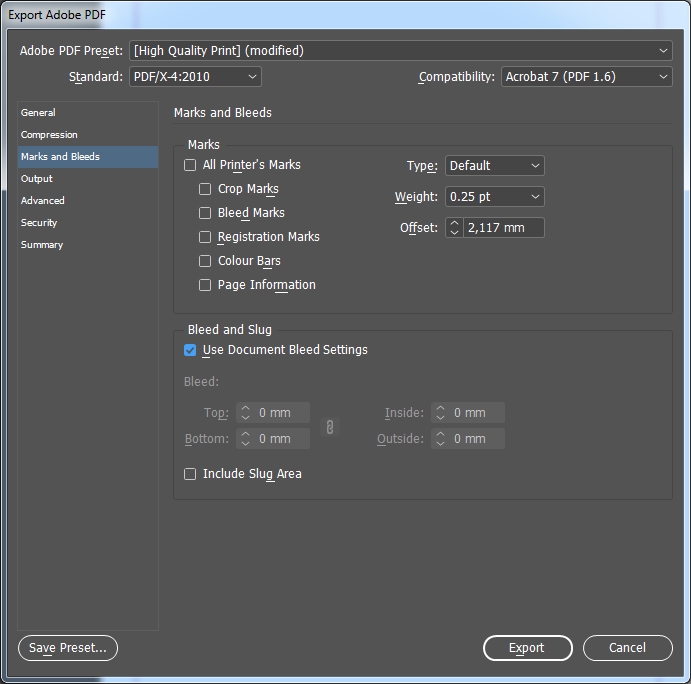
Marks and bleeds
In the Marks and Bleeds section, you should use the bleed settings of the document if these have already been set up correctly when creating the document. Our templates have the bleed included in the size of the canvas.
Output
The settings at Output are essential for the colour composition of your printed product by assuring a correct colour result. RGB images have to be converted to PDF in CMYK to be exported. Go to Color Conversion, select the Convert to Destination (Preserve Numbers) option and define the “PSO Coated v3)” colour profile previously defined as the destination.
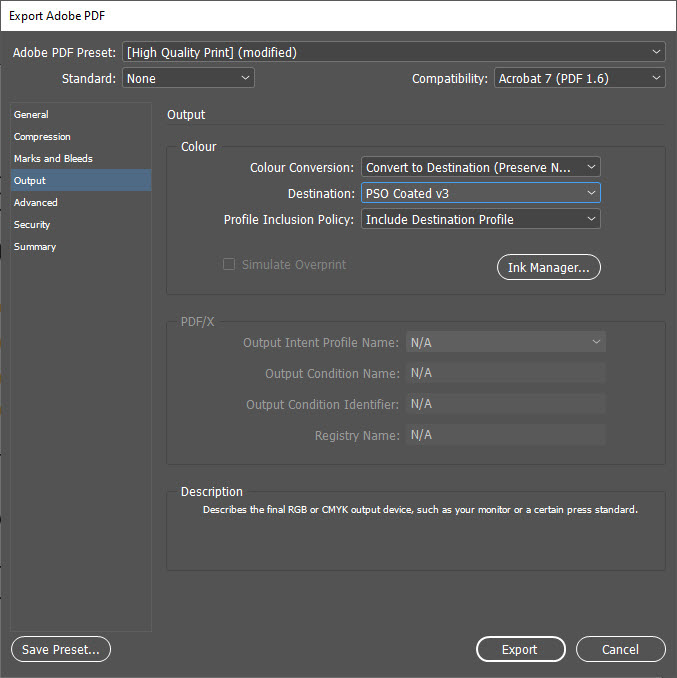
If other colour profiles are needed – for uncoated paper, we recommend, e.g., “PSO Uncoated v3 FOGRA52” – you have to adjust the settings accordingly.
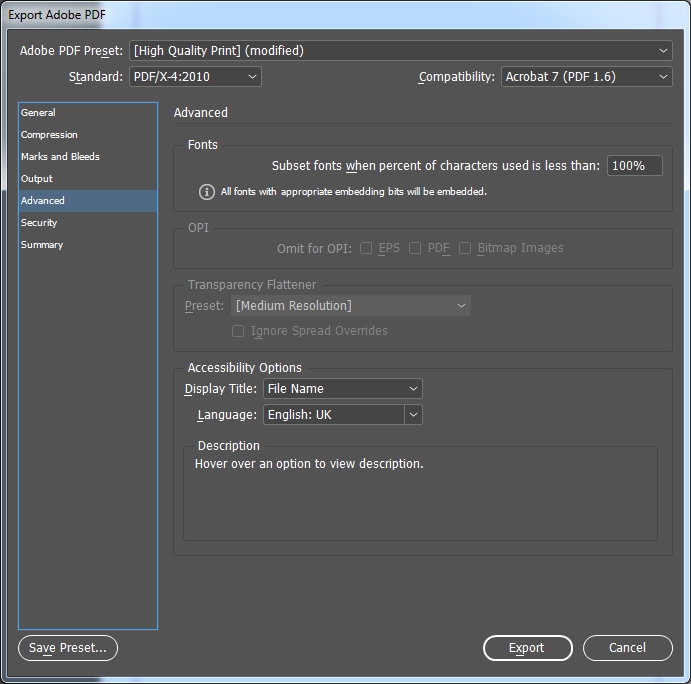
Advanced
The PDF/X-4:2010 PDF standard allows transparencies which you have included in your artwork. No further adjustments are necessary at Advanced, whereas for the PDF/X-3:2002 standard you have to choose a high resolution for transparency reduction.
Security
Skip the Security tab. Never assign passwords for your PDF file, or else the document cannot be processed by the online printer.
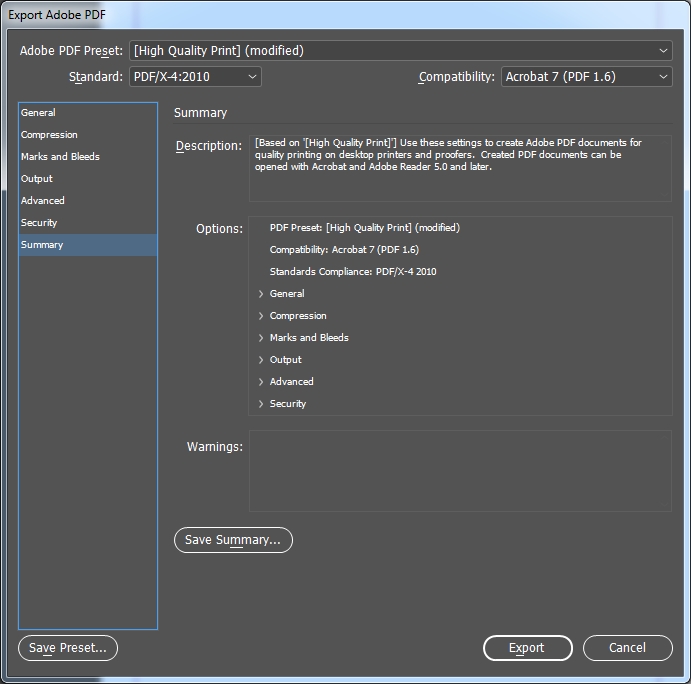
Click Export to finish the process. InDesign will create a print-ready PDF with the settings needed by the online print shop to deliver an optimal result.
If you produce printed products on a regular basis, we recommend saving permanent PDF profiles. For information on how to do this, read the article Always available: saving PDF presets in InDesign.